In many cases, customers will walk away from a full shopping cart because shipping costs more than they expected. Offering free shipping and showing a free shipping bar can be a fantastic way to offer additional value to your customers and it may lead to sales that you wouldn’t get otherwise.
A free shipping bar in WooCommerce is a simple message at the top of your website that tells visitors you won’t charge them any additional fees for their packages. If you offer free shipping, you want to make sure that every single person that visits your store knows it. Hence, a free shipping bar.
In this article, we’ll introduce you to three plugins that you can use to show a free shipping bar in WooCommerce or any other message that you want. Let’s get to it!
1. OptinMonster

This is a pop-up builder plugin that you can use to create everything from signup forms that appear as visitors are about to leave your website to free shipping bars in WooCommerce.
The plugin enables you to create as many pop-ups as you need, customize their style and location, and configure the way that they work.
Although pop-ups have a bit of a bad reputation, they’re also incredibly useful tools as far as getting visitors’ attention is concerned. A pop-up at the right time with a one-time discount, for example, can be a great way to convince customers to make a purchase.
Whether to add pop-ups to your online store or not is up to you. However, you can also use OptinMonster to create sticky bars that you can place at the top or bottom of your store.
To get started, install and activate the plugin, then create a free account on the OptinMonster website. That step is necessary if you want access to the templates the plugin enables you to use.
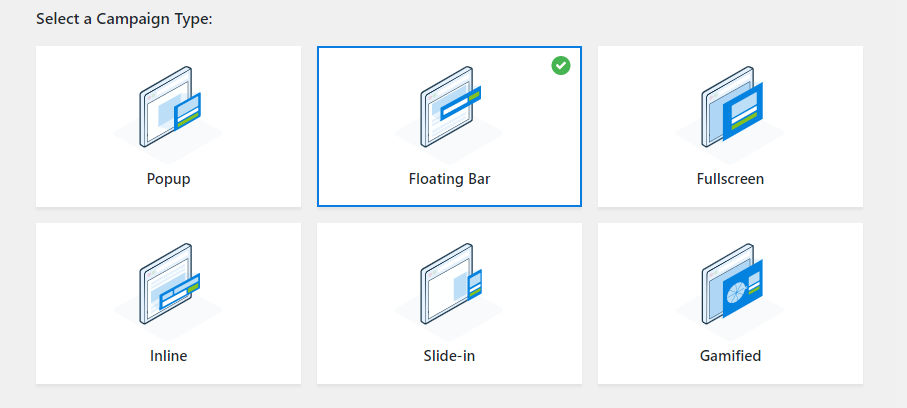
Once you have an account, return to WordPress and go to OptinMonster > Templates and select the Floating Bar option:
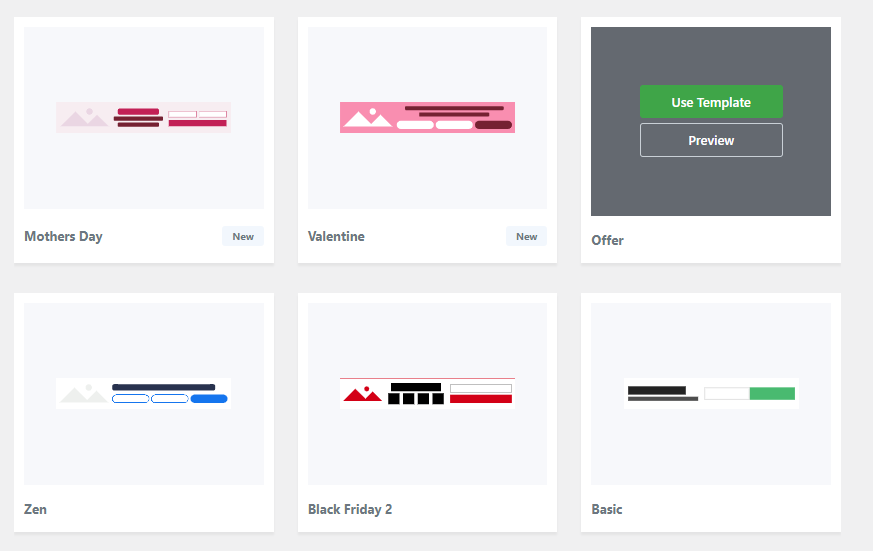
Scroll down and select a style for your free shipping bar. OptinMonster enables you to choose from dozens of pre-built sticky bar designs, all of which you can customize later on:
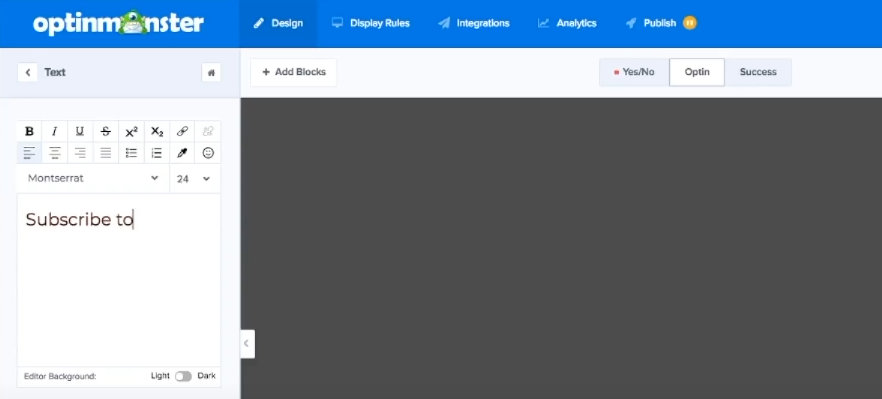
Now OptinMonster will enable you to customize your free shipping bar’s style and message using a simple editing tool:
Once you’re happy with the results, you can save your campaign and publish it. Now, visitors will see a free shipping bar in WooCommerce when they visit your website.
2. WPFront Notification Bar

If you’d rather use a plugin that doesn’t require you to sign up for an account on a third-party service, you’re going to like WPFront Notification Bar. This plugin does precisely what its name says – it enables you to add a simple notification bar to your website.
With this plugin, you can set up a notification bar in a matter of minutes. However, the plugin also includes a broad range of configuration options that enable you to customize your free shipping bar in nearly any way that you want (and it’s free!).
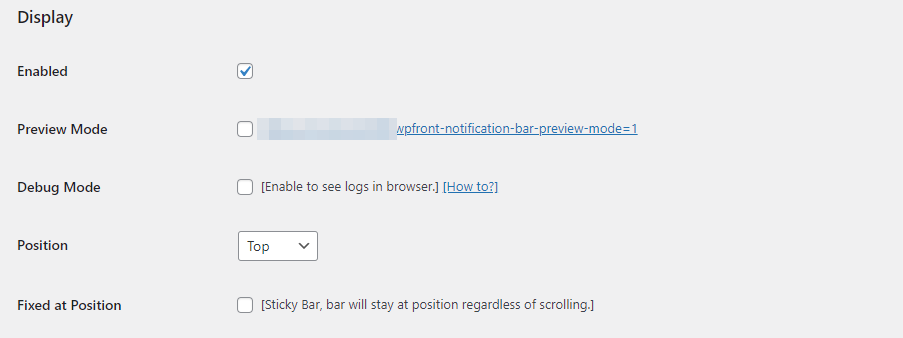
After you install and activate the plugin, go to Settings > Notification Bar. Here you can enable or preview your free shipping bar and choose its position:
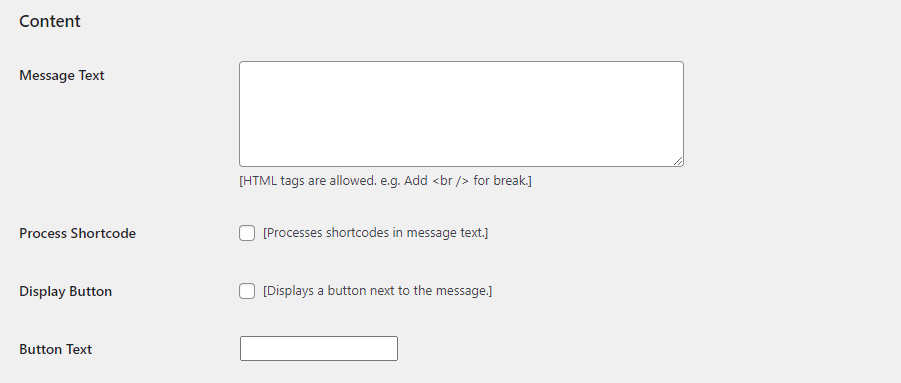
If you scroll down, you’ll see a simple text field where you can add your free shipping message. Note that this field supports HTML, which gives you additional formatting options:
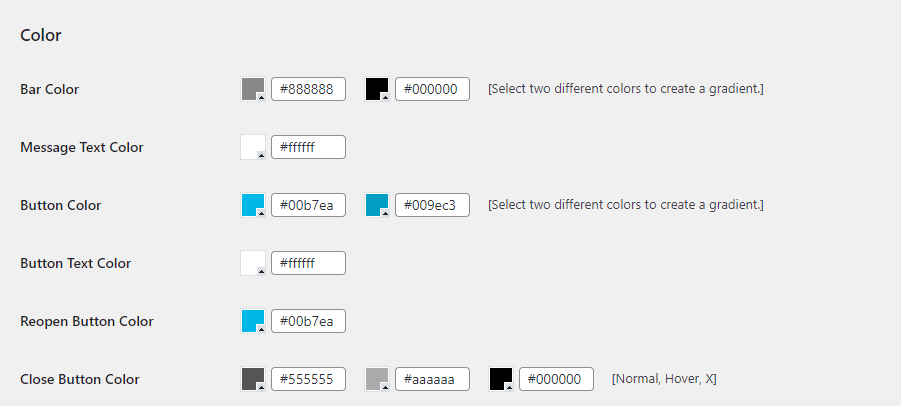
By default, the notification bar the plugin sets up for you looks a bit barebones. To change that, you can navigate to its style settings and tweak the bar’s design until it fits with your store’s aesthetic:
The plugin also enables you to use CSS to tweak your notification’s bar style. If you’re comfortable using CSS, you can completely overhaul your bar’s style:
Once you’re happy with your free shipping bar in WooCommerce, you can sit back and wait for customers to start taking you up on your offer.
3. HashBar

HashBar offers a middle ground between the other two plugins we’ve shown you so far. It offers nearly as many styling options as OptinMonster and it’s as easy to use as WPFront Notification Bar. Using this plugin, you can create both sticky bars and pop-up messages that include email signup forms.
Using HashBar, you can also create multiple notification bars that show up on different pages.
For example, you can have a free shipping bar throughout your website and design a second message that appears when customers go through the checkout stage.
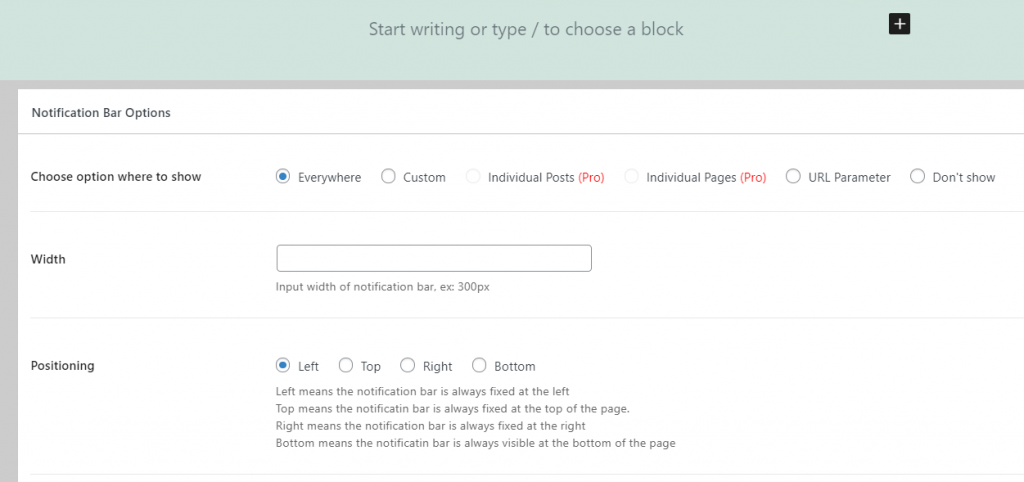
To get started, install and activate the plugin then go to HashBars > Add New Notification within your dashboard. Now you can edit your notification bar’s content using the Block Editor. Below the editor, you can configure your bar’s style and behavior:
Once you’re done, save your new notification bar and try accessing your store as normal.
The new bar should appear at the top of your page and it’ll let users know that they get free shipping in all (or some) of their orders!
Conclusion
Offering free shipping is a wonderful way to drive more sales for your store.
Even if shipping is relatively cheap, it’s common for visitors to drop out during the checkout process because they didn’t factor that cost into their purchases. If you offer free shipping, you want to make sure that every single visitor to your store knows about it.
The best way to achieve that is by adding a free shipping bar in WooCommerce. Here are three plugins that you can use to do that:
- OptinMonster: This plugin enables you to design and publish pop-ups and sticky bars for your website, among other types of elements.
- WPFront Notification Bar: This enables you to add a notification bar to your store in minutes.
- HashBar: You can use this to create multiple notification bars and floating email signup forms.
Do you have any questions about how to add a free shipping bar in WooCommerce? Let’s talk about them in the comments section below!

