For WooCommerce store owners, expanding their customer base beyond language barriers is critical in achieving international success. Fortunately, with the advancements in technology and the availability of user-friendly tools, you can translate WooCommerce stores easily.
If you own an online store and want to expand your reach by translating your store, we have good news: you can do so in just 3 simple steps with Advanced Coupons!
In this guide, we will explore three effective methods that empower WooCommerce merchants to easily translate their online stores. By breaking down the language barrier, you can attract a wider audience, enhance customer experience, and ultimately boost sales. Let’s get into it!
Benefits Of Translating Your WooCommerce Store
There are many benefits to translating your WooCommerce store. To start, it makes your site more accessible to a wider audience.
If consumers can shop for products in their native language, it increases the chances of them sticking around and perhaps even completing a purchase. This means that turning your store into a multilingual site may result in more traffic, higher retention and engagement rates, and increased revenue.
Giving users the ability to translate your WooCommerce store into their local language also provides a better User Experience (UX). It helps visitors more comfortably understand and navigate, which can help them form a positive perception of your brand.
Translating your WooCommerce store can be particularly useful if you have a global audience or you’re trying to target new markets across several countries and regions.
Plus, you have a variety of translation methods you can use!
How To Easily Translate Your WooCommerce Store (3 Ways)
Now that you understand some of the advantages of translating your website, let’s look at how to go about it. Below are three ways to translate WooCommerce.
1. Install the WordPress Multilingual (WPML) plugin
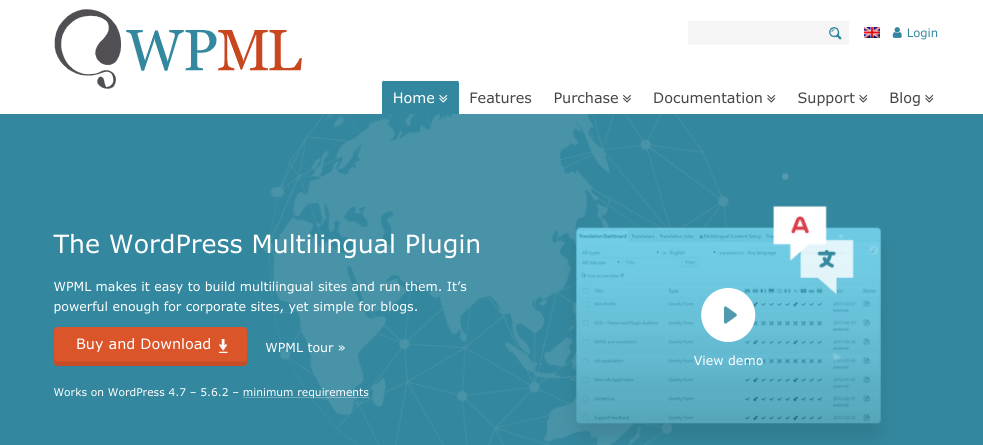
One of the easiest ways to translate your WooCommerce store is to use a plugin such as WPML:
This is a premium WordPress tool that is easy to use, even for beginners. It enables you to integrate your WooCommerce store with third-party translation services to automate the translation process.
WPML lets you translate pages, posts, menus, and more. It’s also compatible with any theme or plugin that uses the WordPress API. This includes our Advanced Coupons plugin for WooCommerce.
To get started, you can sign up for an account on the WPML website. We suggest opting for the Multilingual CMS plan. Then, the next step is to install and activate the plugin on your site. After you click on the Register Now link, you can enter your site key, located on your WPML account dashboard:
There is a wide range of other WPML plugins you can leverage. You can add the main four by navigating to Plugins > Add New > Commercial, then selecting Activate after download > Download.
Translating with the WMPL plugin
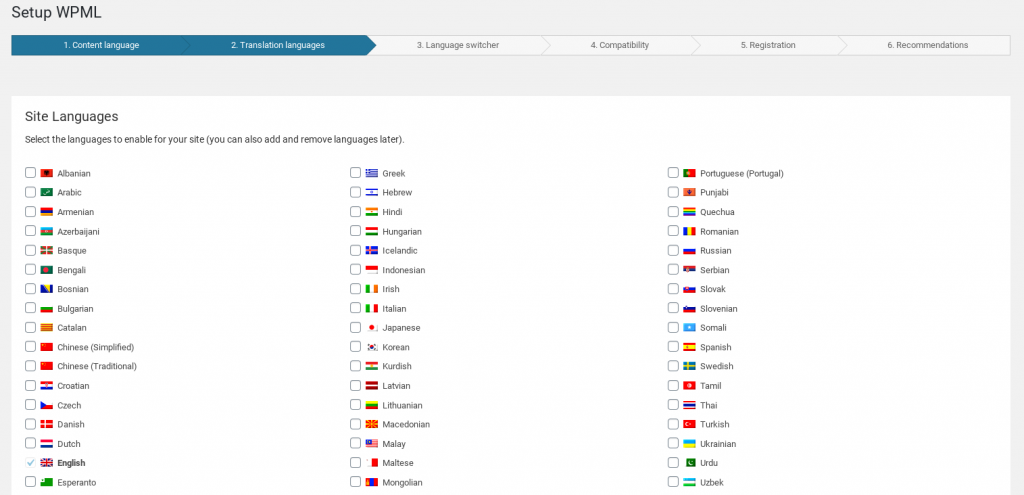
Next, navigate to WPML > Languages. Select your site’s current language, followed by the Next button.
On the next screen, you can select all the languages you want and choose an order for them to appear in the language switcher:
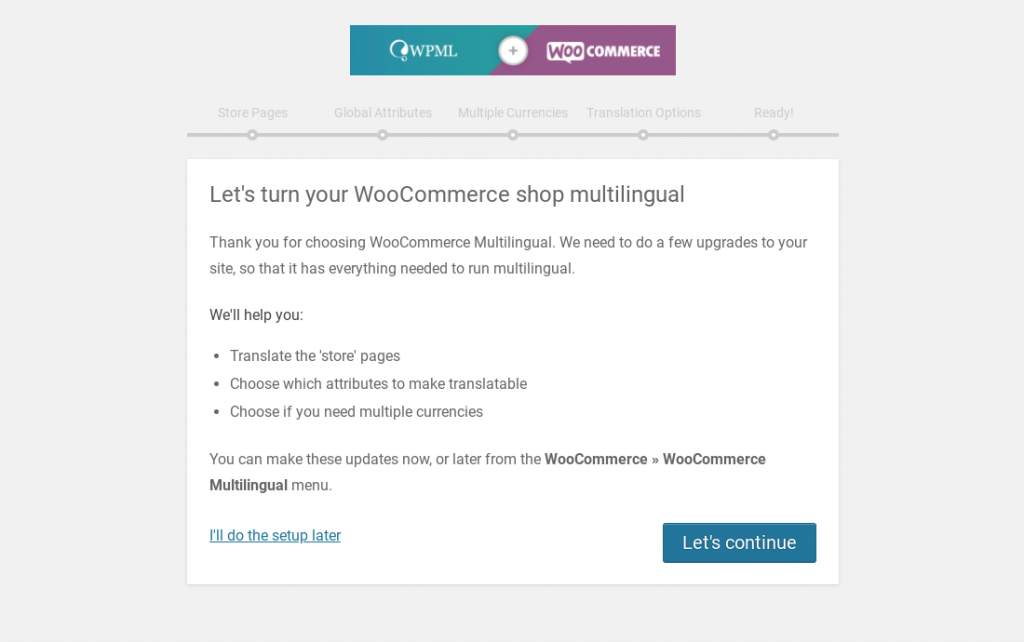
Eventually, you’ll be brought to the WooCommerce translation setup wizard.
After you click on the Let’s continue button, you can create missing translations for your store pages and select which attributes to make translatable:
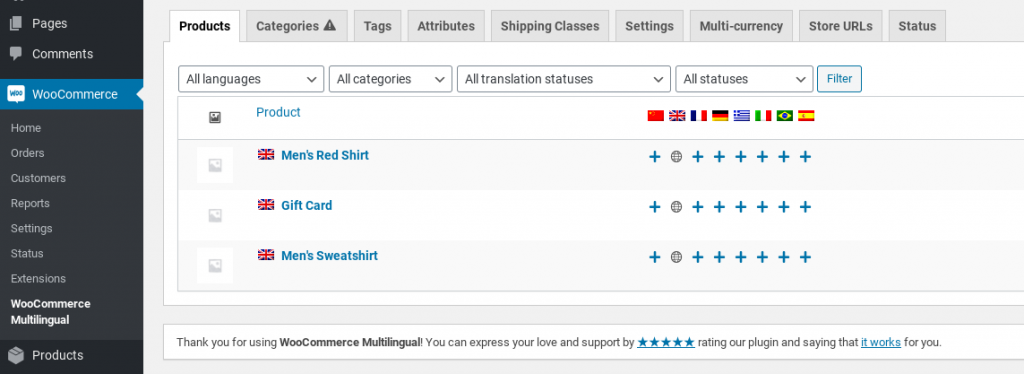
When you’re ready to translate a page, you can navigate to WooCommerce > WooCommerce Multilingual. In the products list, you should see a column for the languages you selected:
If you click on the + icon for a language, it will bring you to the product translation screen. This is where you’ll enter the translation for the text:
Once you’re done, select the Translation is Complete box at the bottom. Finally, click on the Save & Close button. Then you can repeat this process for as many pages and languages as you’d like!
2. Use the TranslatePress plugin
TranslatePress is another popular, freemium WordPress plugin that lets you translate your website with ease:
You can use it to translate an entire page at once. It’s also to configured to work with WooCommerce by default. If you only plan to translate WooCommerce into one language, you can use the free version.
However, if you want to translate it into multiple (or unlimited) languages, you’ll need to upgrade to the Pro version. To get started, first, create an account and install and activate the plugin on your site.
Once you complete the installation process, you can navigate to Settings > TranslatePress > General:
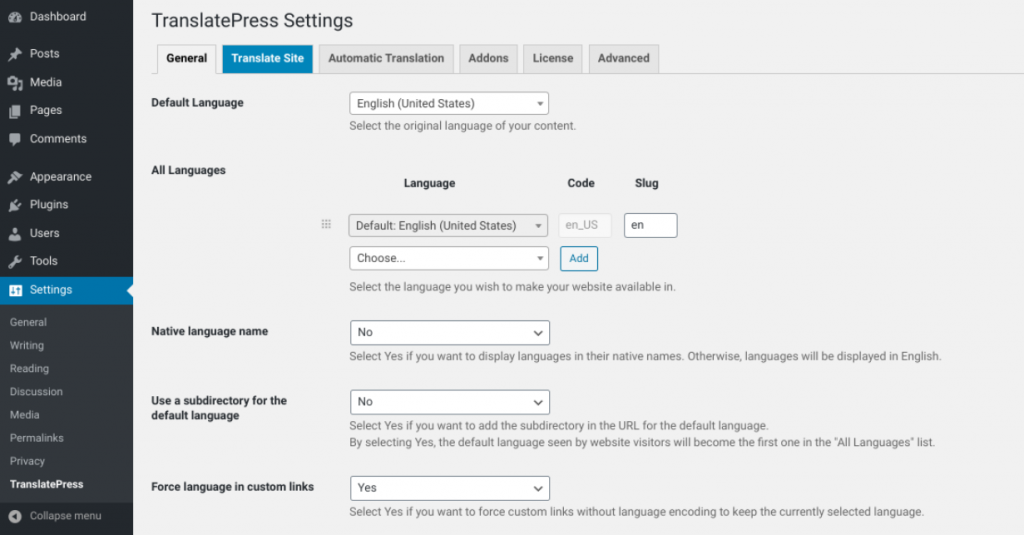
On this screen, you can select your default language and choose an additional language(s) to translate WooCommerce too.
Simply click on the language you want from the dropdown menu, then click on the Add button.
Translating with the TranslatePress plugin
Under this tab, you can also configure other settings, such as how you want the language selector to appear on the front end of your site.
When you’re finished, select the Save Changes button at the bottom. Now, you can translate your WooCommerce store by clicking on the Translate Site tab along the top menu bar:
This will open the Translation Editor and present a live preview of your store. You can navigate through different pages of your site by clicking on the links. To translate, simply select the pencil icon next to it:
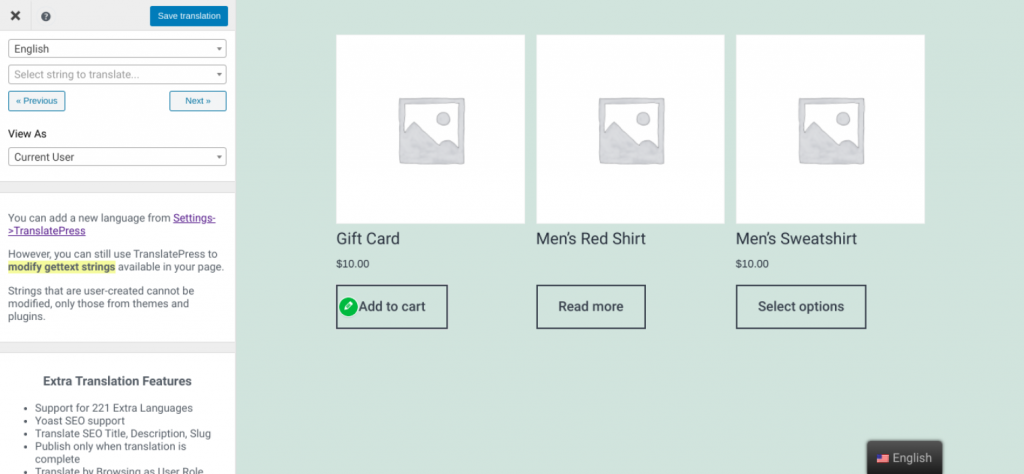
Then you’ll be able to type the translation in the left-hand panel. You can also use Google Translate to do this automatically.
When you’re done, remember to click on the Save translation button at the top. That’s it!
Now you can check to make sure it’s working correctly by visiting your WooCommerce store and using the language switcher.
3. Translate your site manually
You can also use a manual approach to website translation. This is ideal if you’re comfortable working with WordPress files and want to handle the translation process yourself.
To do so, you can edit your Portable Object Template (.POT) files. This is the master theme or plugin translation file created by the developers that contain a list of text lines in the English language.
It can be used as a basis for creating new translations. You should be able to find it within the language folder of your plugin or theme.
An easy way to translate a theme or plugin is to use software such as Poedit:
This freemium tool is available for Windows, Mac, and Linux devices and includes a built-in translation memory.
Note: Before installing this tool on macOS, you may want to confirm system compatibility. Knowing how to check if your Mac is too old to update and whether it supports the required version can help ensure the software runs smoothly.
Poedit’s Pro version also includes dedicated WordPress support.
After you download it, you can navigate to File > New Catalog from POT/PO file. Select the file from the plugin or theme you want to translate, then select the language of translation.
When you save the file, you’ll be able to start translating your plugin or theme. Once you’re done, you can simply upload the files to the languages folder of your plugin or theme.
Translating with the Loco Translate plugin
Another option is to use a WordPress plugin such as Loco Translate:
This tool lets you translate plugins and themes directly from your WordPress dashboard. In addition to the in-browser editing, it offers integration with automatic translation services.
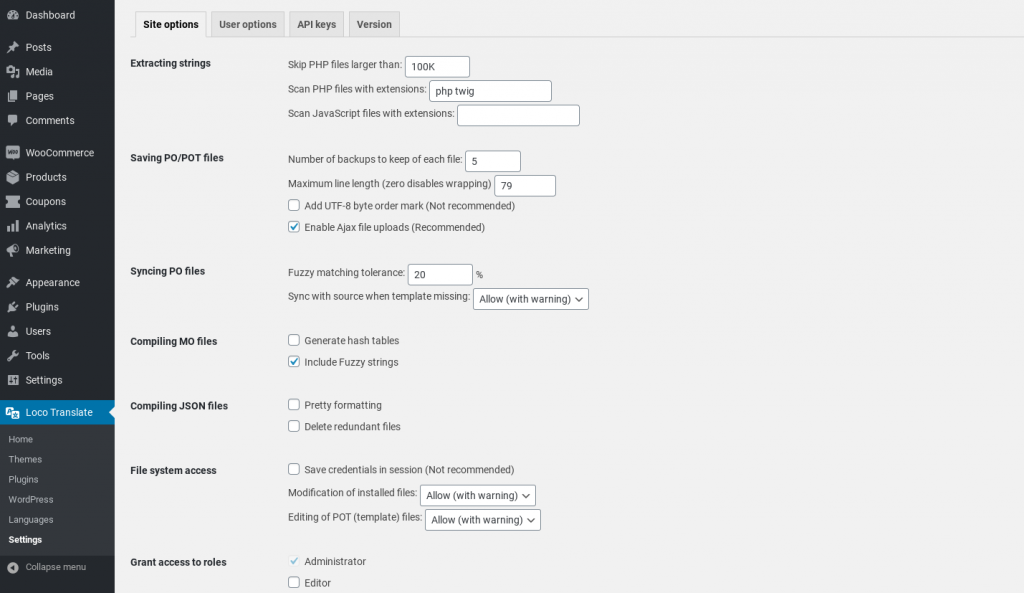
Once you activate it on your site, you can begin using it by navigating to Loco Translate > Settings:
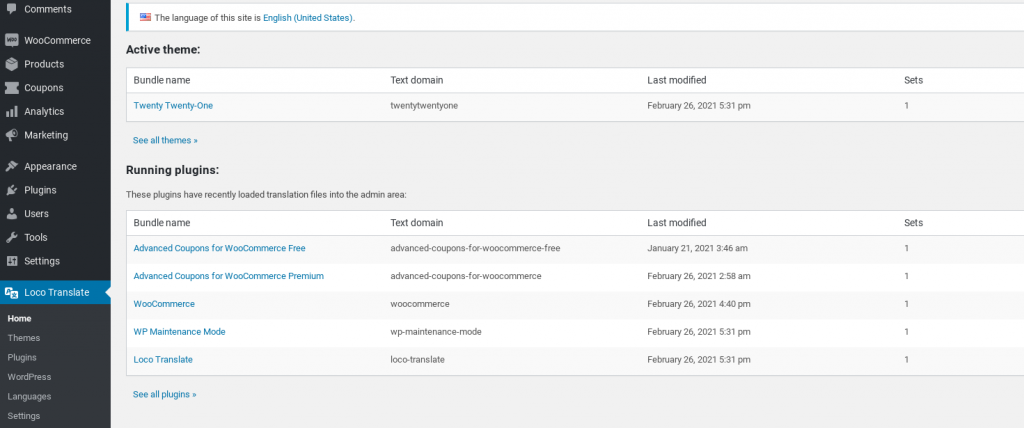
Then you can translate plugins and themes by navigating to the Home tab:
Simply click on the plugin or theme name to begin configuring the language settings for each. For more detailed guidance, you can refer to the plugin’s official documentation.
Conclusion
Many website owners assume that you need to create multiple websites if you want to reach audiences that speak multiple languages. However, you translating your online store is actually quite simple when you use the right tools.
As we discussed in this post, there are three methods you can use to translate WooCommerce:
- Install the WPML plugin.
- Use the TranslatePress plugin.
- Translate WooCommerce manually using Poedit or Loco Translate.
Do you have any questions about translating your website? Let us know in the comments section below!


