Running an online store has the potential for profitability, but it often involves competing with numerous similar businesses in your specific market. To stand out from the competition, one effective tool is using a before and after image slider in WordPress.
Using a before and after image slider in WordPress can help you showcase your product’s unique features and benefits. Fortunately, this feature is easy to set up with a plugin such as the Before After Image Comparison Slider for Elementor.
In this article, we’ll delve into the reasons why utilizing a before and after image slider can boost your online product sales. Additionally, we’ll provide you with a simple step-by-step guide on how to install and make the most of this feature. Let’s dive right in!
Why You Should Consider Using A Before and After Image Slider in WordPress
A before and after image slider can demonstrate what a situation looks like with and without your product. It is a visual feature that can quickly show tangible benefits to your customers.
This feature is particularly beneficial when your product solves a problem. Rather than telling customers how your item can fix their issues, you can simply show them.
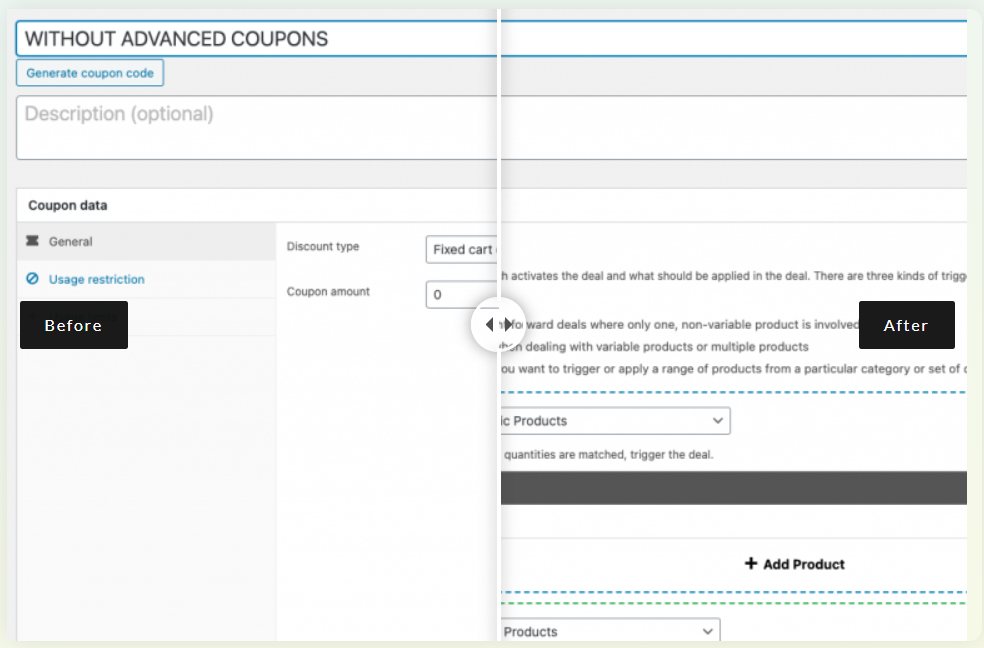
For example, we use a before and after image slider on our website to show the benefits of our Advanced Coupons plugin. It demonstrates how you have more available settings and flexibility to customize your coupons when using our WooCommerce tool:
An image slider can set your online store apart from the competition. Most e-commerce shops use product descriptions and photos to promote their goods. However, very few of them utilize immersive elements such as sliders.
Overall, an image slider is interactive, which could pique a potential customer’s interest. They can drag the slider as needed to explore your product’s features fully.
How To Show A Before And After Image Slider In WordPress
There are several ways to set up a before and after image slider in WordPress. In this tutorial, we’ll be working with the Before After Image Comparison Slider for Elementor. This free tool integrates easily with the Elementor page builder and enables you to customize your slider images.
You might also consider using a different slider plugin. These are both good options:
- BEAF Pro by Themefic. This premium tool includes multiple preview styles, a filterable gallery, and different sliding options for your before and after images. An annual license starts at $12 for one website.
- Twenty20 Image Before After. This responsive plugin uses a shortcode to add a simple image slider to your WordPress website. It’s also completely free to use.
Now, let’s jump into making an image slider with the Before After Image Comparison Slider tool. Note that you’ll also need to install the Elementor plugin if you’re not using it already.
Step 1: Install the Before After Image Comparison Slider for Elementor
Open your WordPress dashboard and head to Plugins > Add New. Then, search for “before after image comparison” in the search box and select the first plugin that appears:
Hit the Install Now button. Once that process finishes, select Activate to finish setting up the plugin.
Alternatively, you can download the plugin as a .zip file. Then, you can upload it to your site by clicking on Upload Plugin > Choose File > Install Now:
Select Activate Plugin to complete the installation. The plugin is now up and running on your site.
Step 2: Upload your images
You should now see a Before After Slider for the Elementor menu item in your WordPress dashboard. However, we’ll be customizing our slider using the Elementor editor.
Open up the page or post where you want to use the slider.
Then, hit the Edit with Elementor button at the top of the screen:
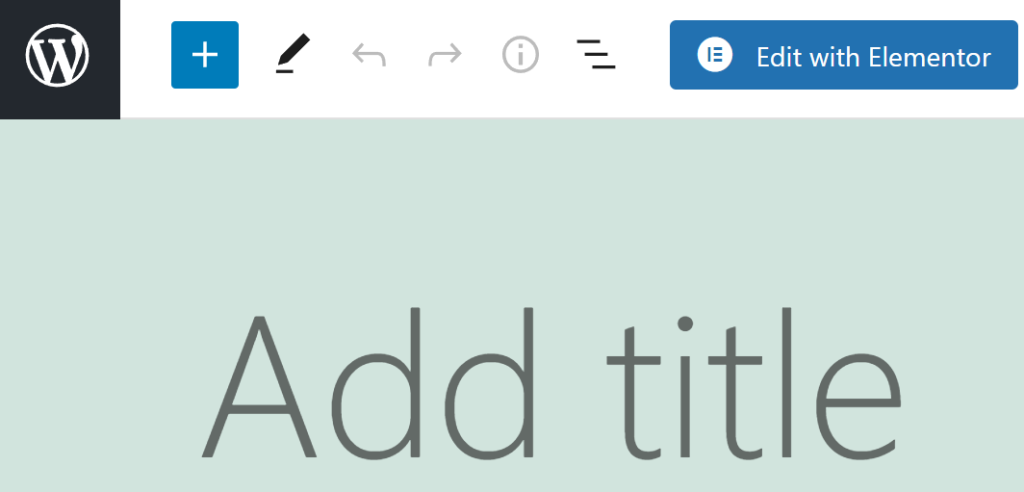
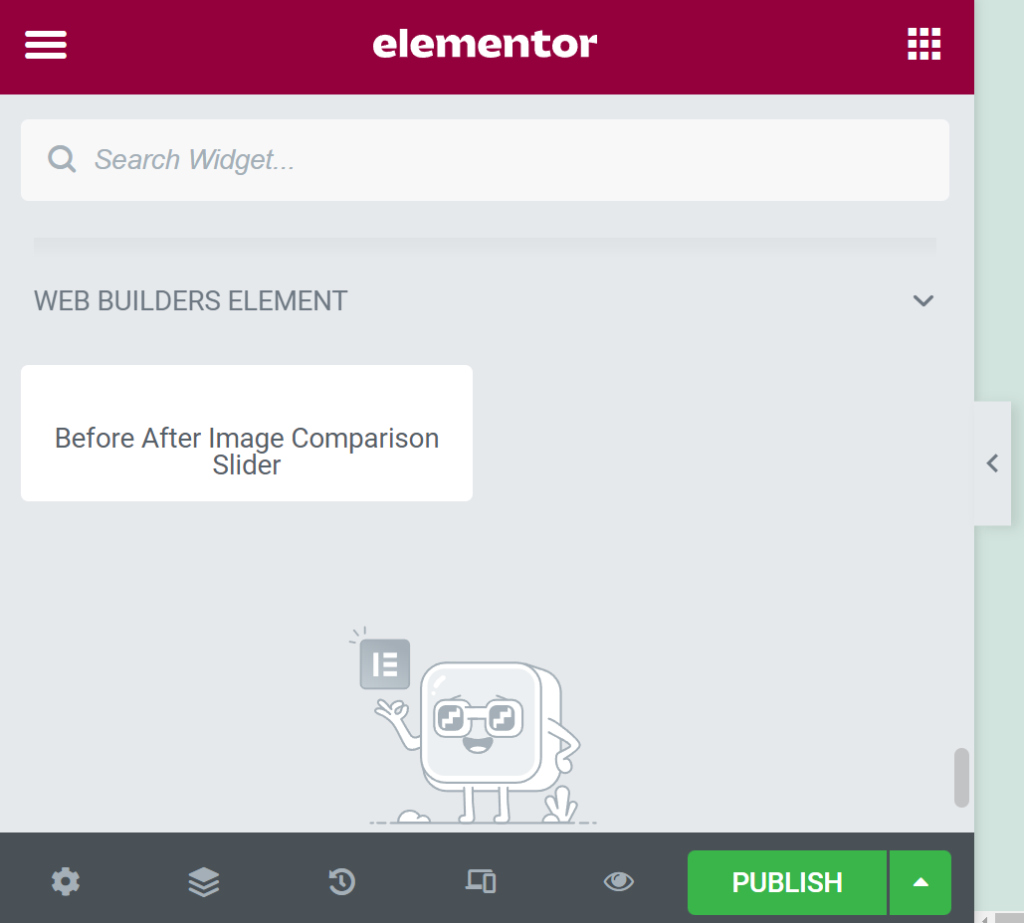
You should now see an Elementor menu to the left. Scroll to the bottom of it until you see WEB BUILDERS ELEMENT. Open the dropdown and drag the Before After Image Comparison Slider onto your page:
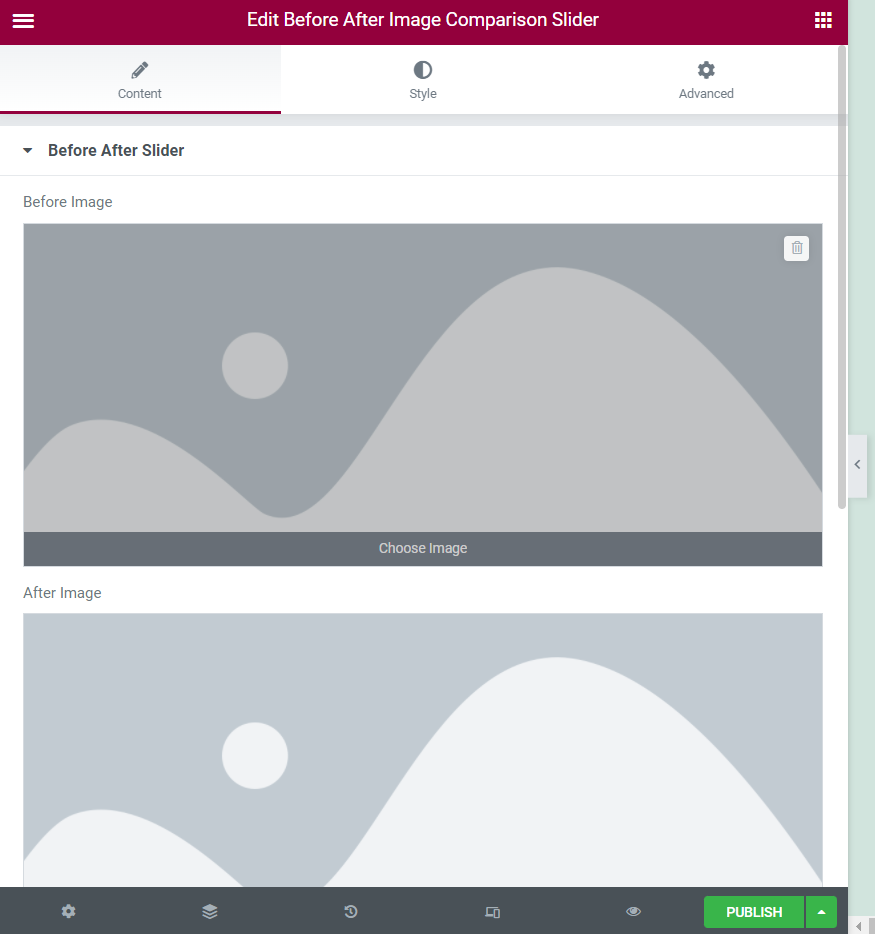
Now, upload your before and after pictures by navigating to the corresponding boxes and clicking on Choose Image:
You’ll then be prompted to either choose pictures from your Media Library or upload them directly from your computer. Once you add your images, you can move on to the final step.
Step 3: Configure your slider and save your changes
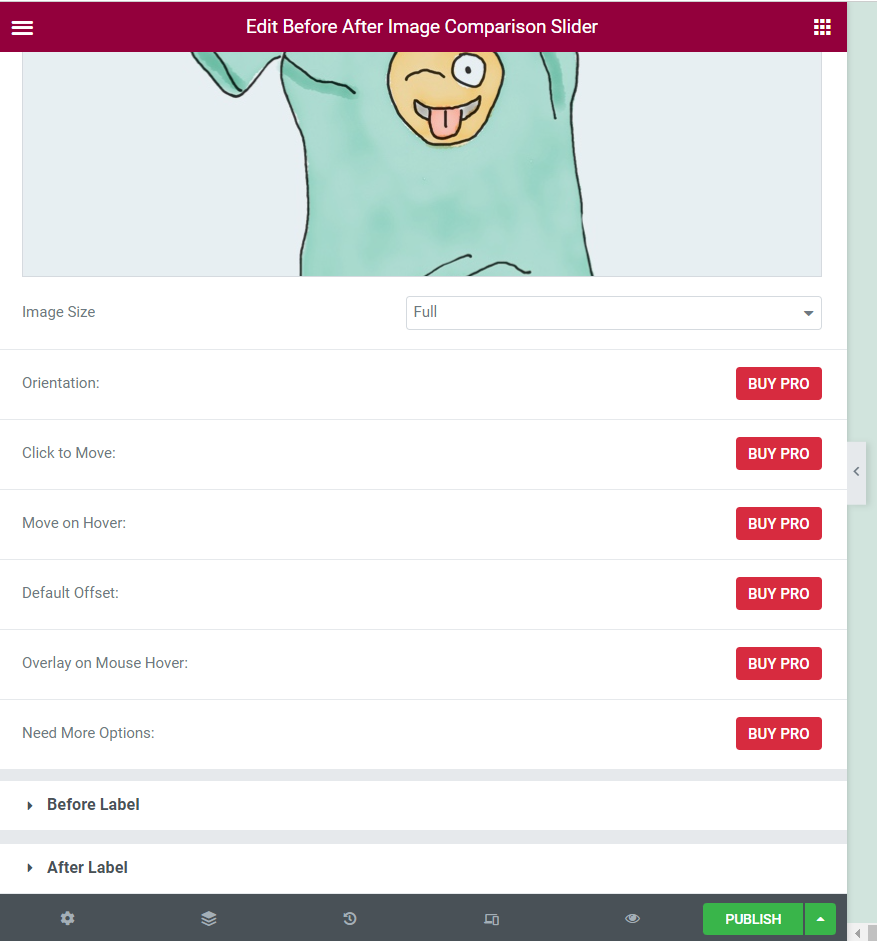
Most of the slider configuration settings are only available with the Pro version of the plugin. For example, if you want to adjust the slider’s orientation, hover effects, and label settings, you’ll need to pay for the premium tool:
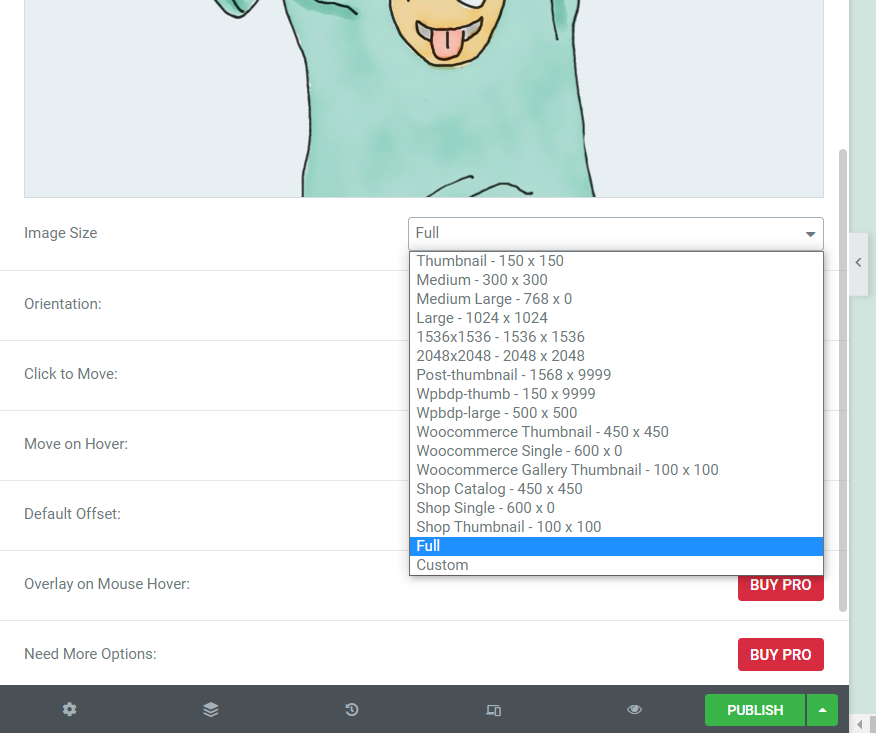
However, you can change the picture sizes by clicking on Image Size and choosing your dimensions from the dropdown menu:
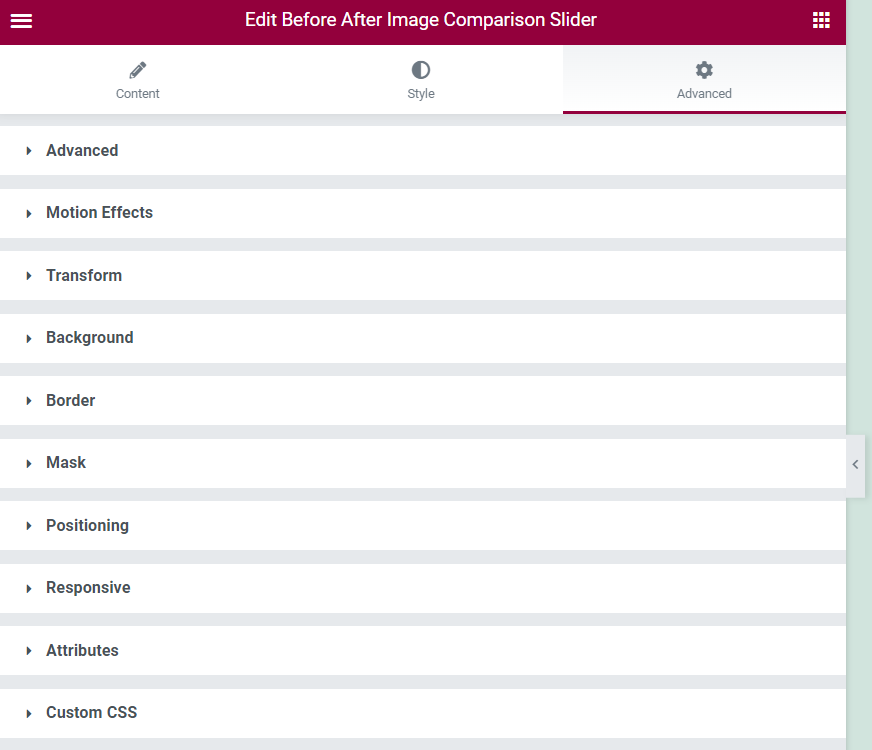
If you click on the Advanced tab, you’ll find more technical settings. For instance, you can adjust the slider’s motion effects, appearance, and attributes. You can also apply custom CSS:
When you’re happy with your changes, select PUBLISH.
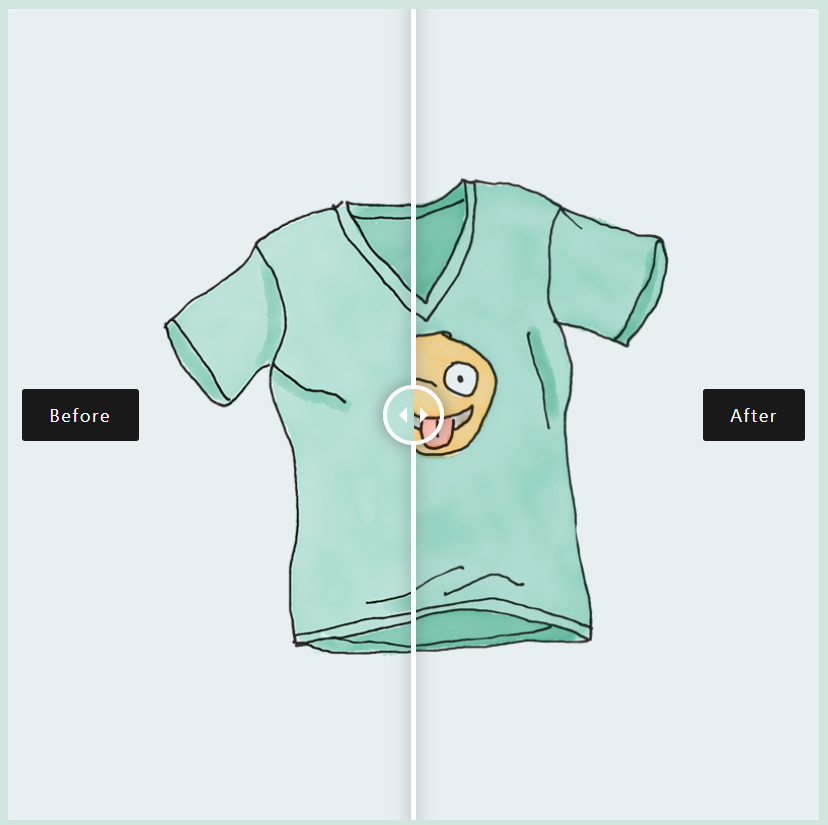
You should now be able to see your slider in action:
Congratulations! You’ve successfully created a before and after image slider in WordPress.
Conclusion
An image slider enables users to interact with your products and demonstrate the features and benefits of your items. Additionally, using one of these sliders can provide a more immersive experience than simple product descriptions or photos.
To recap, you can use a before and after image slider in WordPress by following these steps:
- Install the Before After Image Comparison Slider for the Elementor plugin.
- Upload your images.
- Configure your slider and save your changes.
Do you have any questions about using a before and after image slider in WordPress? Let us know in the comments section below!


