When you value security, sharing data from your e-commerce store can be tricky. However, if you’re considering using WooCommerce Google Sheets, then you’re on the right track. With this application, you can safely and easily send targeted data about your WooCommerce sales to almost anyone.
Fortunately, disclosing sales information can be quick and easy, as long as you have the right tools. By using the Uncanny Automator Plugin to link WooCommerce and Google Sheets, you’ll be able to generate plenty of shareable sheets in a flash.
In this post, we’ll cover a few benefits of using WooCommerce Google Sheets. Then, we’ll teach you how you can send your sales data to a spreadsheet in five simple steps. Let’s begin!
The Benefits Of Using WooCommerce Google Sheets
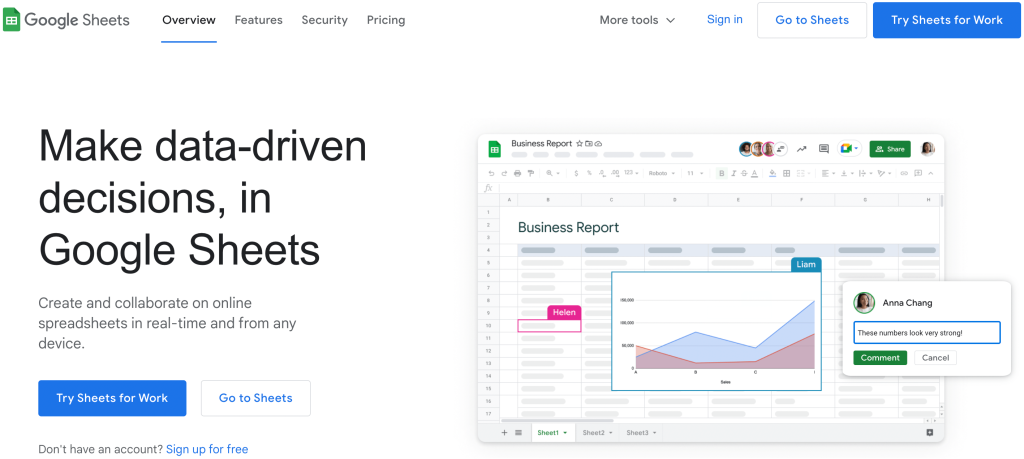
Google Workspace (formerly G Suite) boasts over 2 billion monthly active users. Therefore, chances are you’ve likely used one of its apps, such as Google Drive, Gmail, or Google Sheets:
If you haven’t used Google Sheets yet (perhaps you’re more accustomed to Microsoft Excel), that’s not a problem. You can easily convert a Google Sheet spreadsheet to your preferred format.
One major advantage of this app is that you can use it in tandem with your e-commerce store to create WooCommerce Google Sheets. This will enable you to track your conversions more easily.
There are other ways you can benefit from this combination of tools. For instance, you can:
- Easily share data. If you’re not working alone, chances are you may want other qualified team members to collaborate on analytics. Google Sheets facilitates team collaboration and makes it super easy to share information with others.
- Support security. When you invite team members to collaborate using Google Sheets, you’re also making a wise choice for safety. This reduces the number of individuals who have the WP admin credentials for your WooCommerce store and therefore keeps your site more secure.
- Organize your sales. With simple filtering, you can easily sort your sales data by different factors. A few popular choices are: by product, by price, or even by coupons.
- Boost your conversions. By tracking what works and what doesn’t, you may be able to optimize your sales funnel. This has the potential to increase your revenue.
The bottom line is that using Google Sheets with WooCommerce opens up endless opportunities for creative collaboration and sophisticated data tracking. All of this has the potential to improve every facet of your e-commerce business.
How To Create WooCommerce Google Sheets (In 6 Steps)
Step 1: Set up your online store with WooCommerce
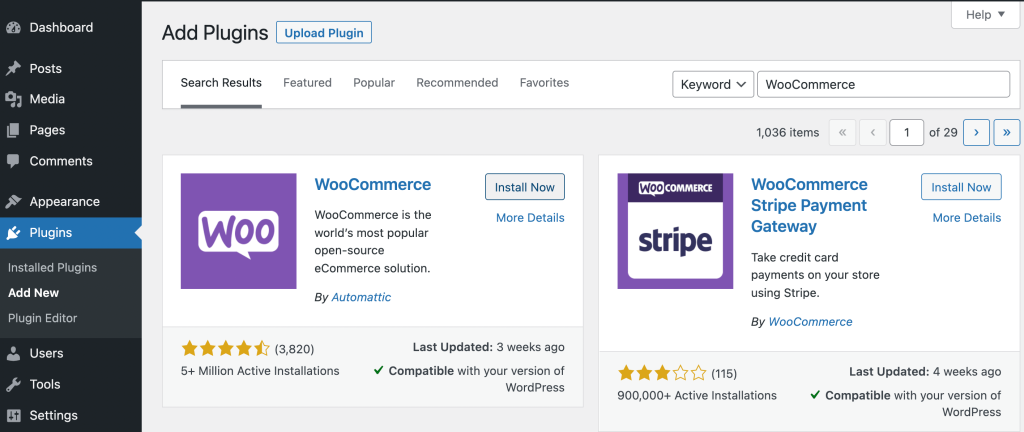
Just in case you haven’t done this already, the first step you’ll need to take is to build your online store with WooCommerce. To do this, go to your WordPress dashboard and navigate to Plugins > Add New. Then, use the search function to find the WooCommerce plugin:
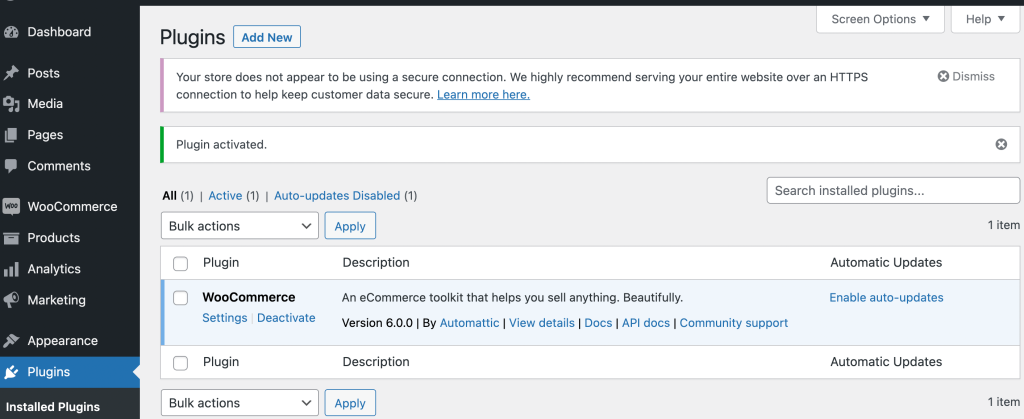
When you locate it, click on Install Now. The process may take a moment to complete. Once it’s done, click on Activate. Next, you’ll be able to view your new installation on the Plugins page:
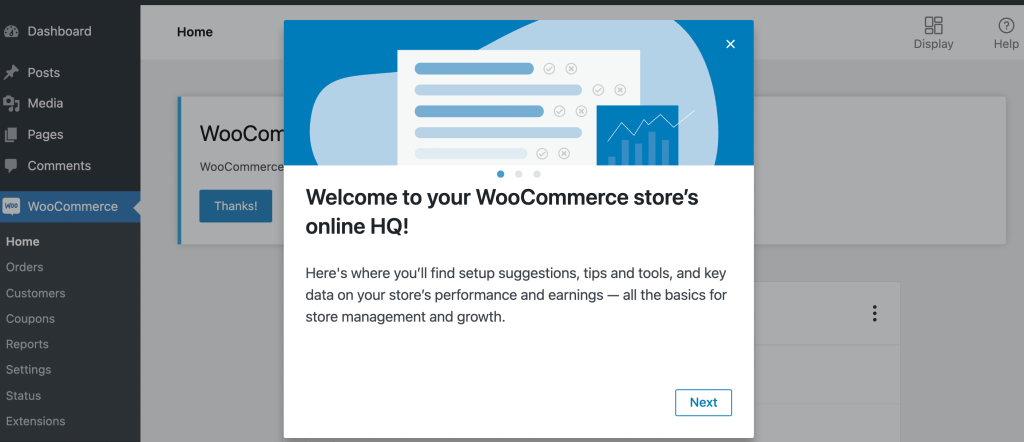
Now, click on WooCommerce in the left-hand menu:
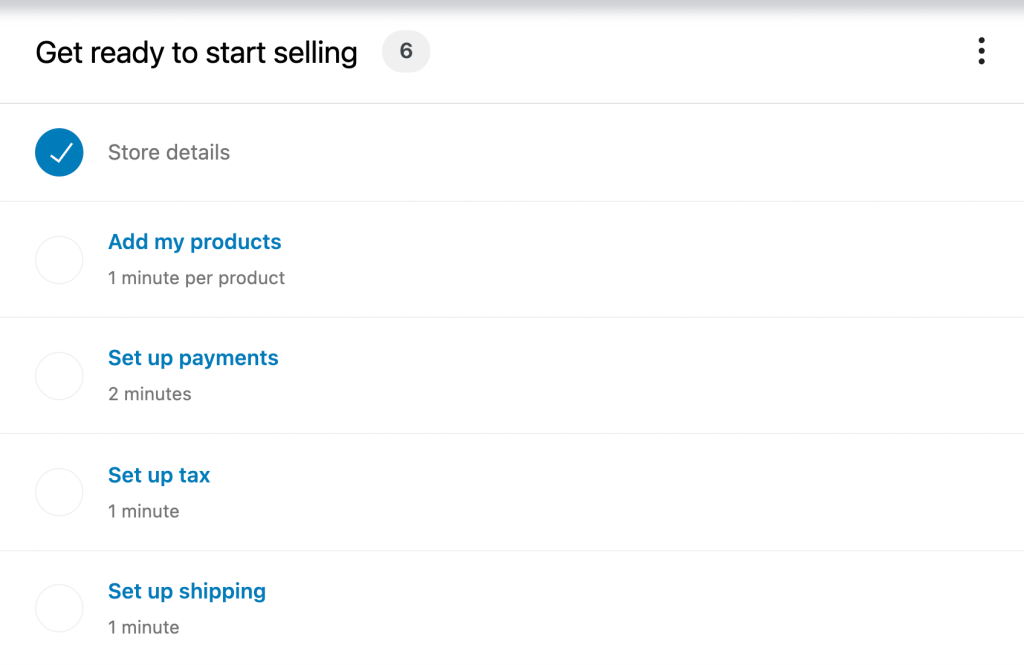
Here, you’ll see a welcome page that will introduce you to the foundations of a WooCommerce store. Once you click through these messages, you’ll be prompted to proceed with further setup instructions:
Establishing the entire framework for your e-commerce site may take some time, especially if you’ve never done it before. Therefore, you may want to consult a guide on how to start an online store. When you’re finished, you can proceed to the next step.
Step 2: Create a Google Account and a Google Sheets spreadsheet
Fortunately, this step should be quick. In fact, you may even be able to skip the first half of it. If you already use any of the Google Workspace apps such as Google Drive or Gmail, then you likely already have a Google Account.
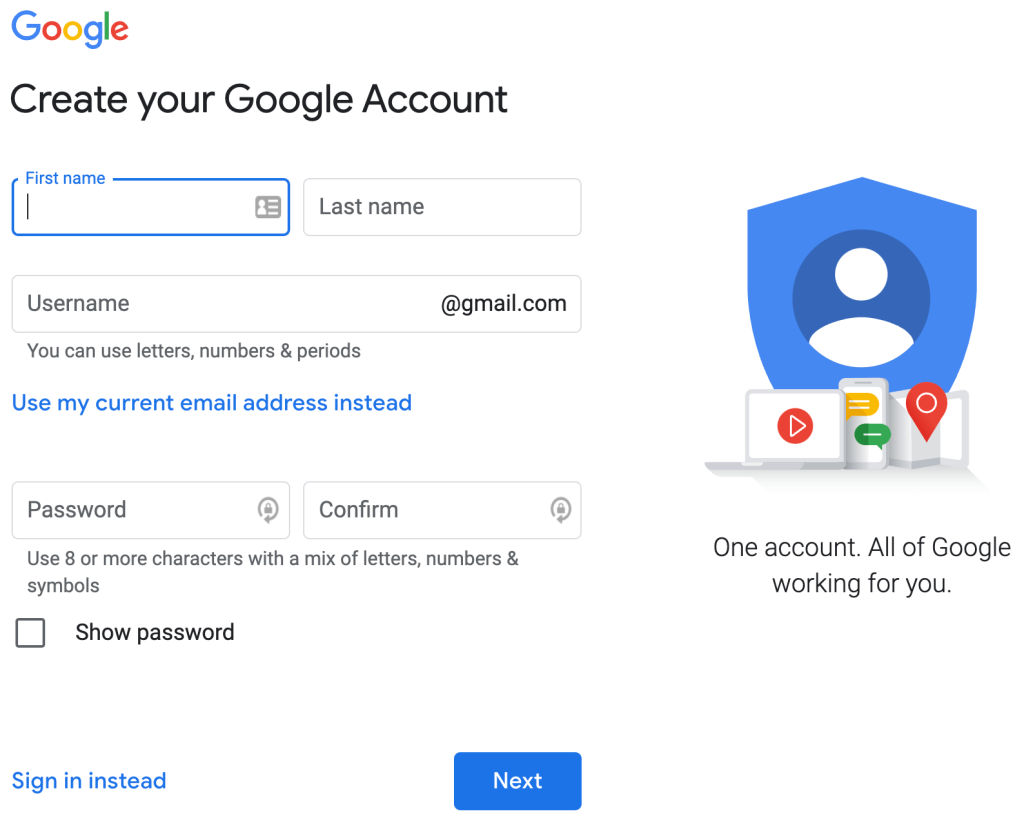
If not, you’ll need to navigate to the Google Account page and click on Create an account. This will take you to the sign-up form:
Simply fill out the form with your personal information. Note that if you don’t want to create a Gmail email account, you can select Use my current email address instead.
Once you’ve made your choice, click on Next and complete the appropriate steps. When you finish, you’ll be able to use any of the Google Apps, including Google Sheets.
Now, you’ll want to create a spreadsheet to use later. Simply navigate to the Google Sheets website and select a new blank sheet:
Here, give your new Google Sheet an appropriate name. We’ve chosen “WooCommerce Store”:
Then, you can start adding columns for the information you’d like to export from your store.
However, you’ll want to be sure that the title for each column is an exact match for a WooCommerce data point that you’ll be exporting later.
Step 3: Install the Uncanny Automator Plugin
At this point, your two foundational tools are ready to go. However, you still need a way to link them.
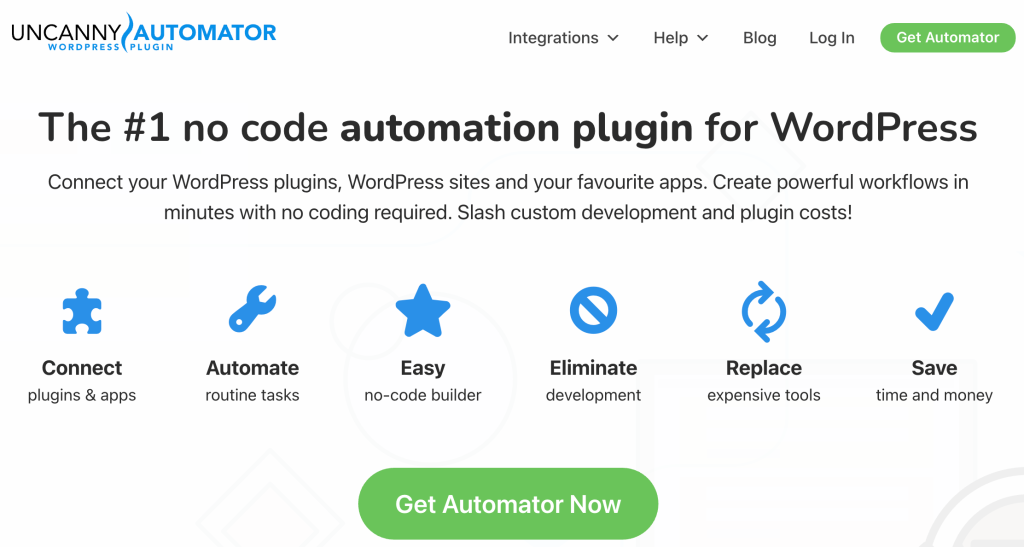
That’s where the Uncanny Automator Plugin comes in. This is one of many powerful automation tools you can use to improve your online store. It allows you to create simplified workflows through integrations with dozens of other plugins and apps:
To get started, click on Get Automator Now so you can choose your plan. You’ll need to select either the Pro, Business or Unlimited options.
If you’re not sure you want to make the investment yet, you can try out the Uncanny Automator plugin for free. However, the free version will only be available for a limited time.
Additionally, when you run out of credits, you will have to choose a paid plan. What’s more, if you don’t sign up for a paid plan, you’ll be unable to complete the process outlined in this tutorial.
Once you’ve made your choice, you can navigate to your WP dashboard and install this plugin as you normally would. Then, go to Automator in your left-hand menu and follow the steps to connect your site:
If you chose not to commit to a paid plan, make sure to follow the prompts to proceed with the free option. Now, you’re ready for the next step!
Step 4: Connect your Google Account to Uncanny Automator
Currently, you have all the tools you need to create WooCommerce Google Sheets. However, you still have a few more steps to go.
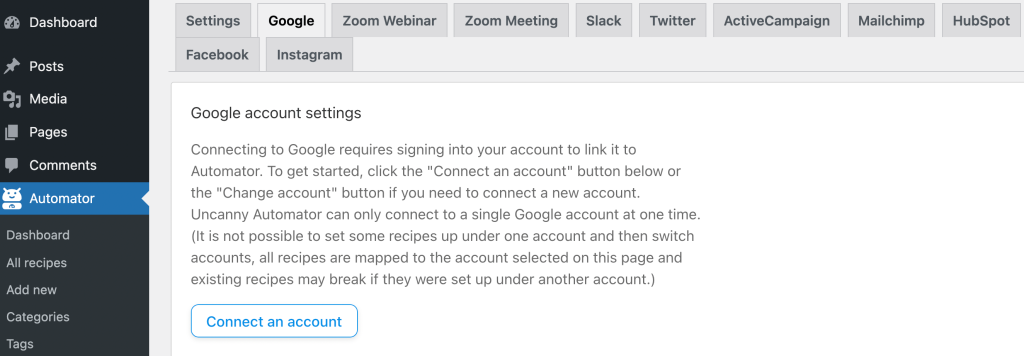
Next, you’ll need to connect your Google Account to the Uncanny Automator plugin. To do this, navigate to Automator > Settings > Google:
Click on Connect an account. The following page will prompt you to choose a Google account from a list of accounts that are associated with the device you’re using.
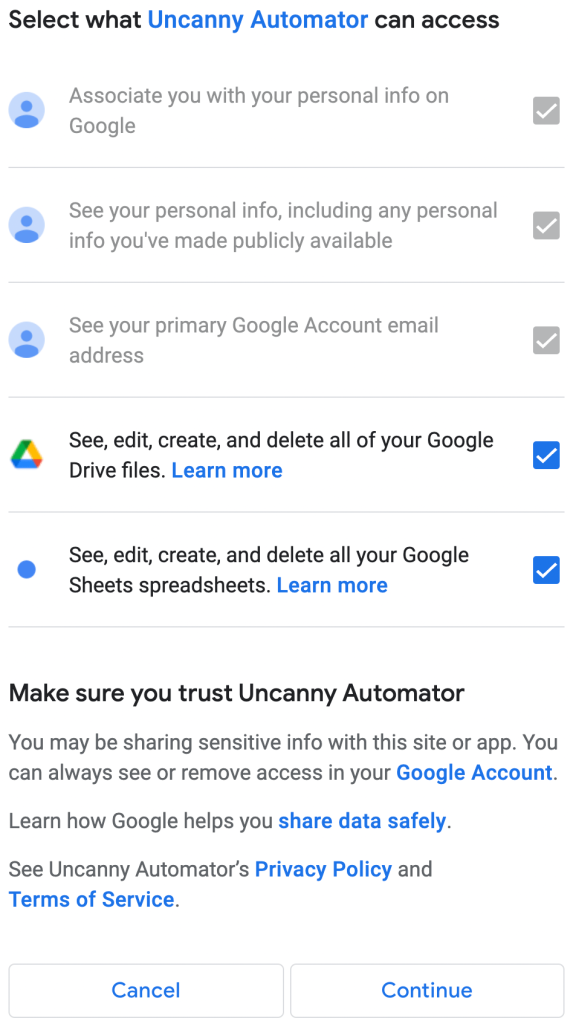
Make sure you link to the account you want to use for your store. Next, you’ll need to select the level of access you want to give to the Uncanny Automator plugin:
Here, make sure you check the boxes allowing access to Google Drive and Google Sheets. Then, click on Continue. Finally, you’ll be taken back to the Google tab in your Automator settings. Here you should see that the application has connected successfully.
Step 5: Link your WooCommerce store to Google Sheets
With all your essential elements set up, you’re now ready to link your WooCommerce store to the Google Sheet spreadsheet you created earlier. However, you’ll first need to know some essential information about the Uncanny Automator plugin.
Uncanny Automator uses “recipes” to configure your customized automation workflows. Each recipe has two fundamental components: the trigger and the action. The former is what sets your recipe in motion. The latter is the function it carries out for you.
In a nutshell, your recipe lays out the instructions for your desired automatic action. Now, let’s walk through the steps to create a useful recipe.
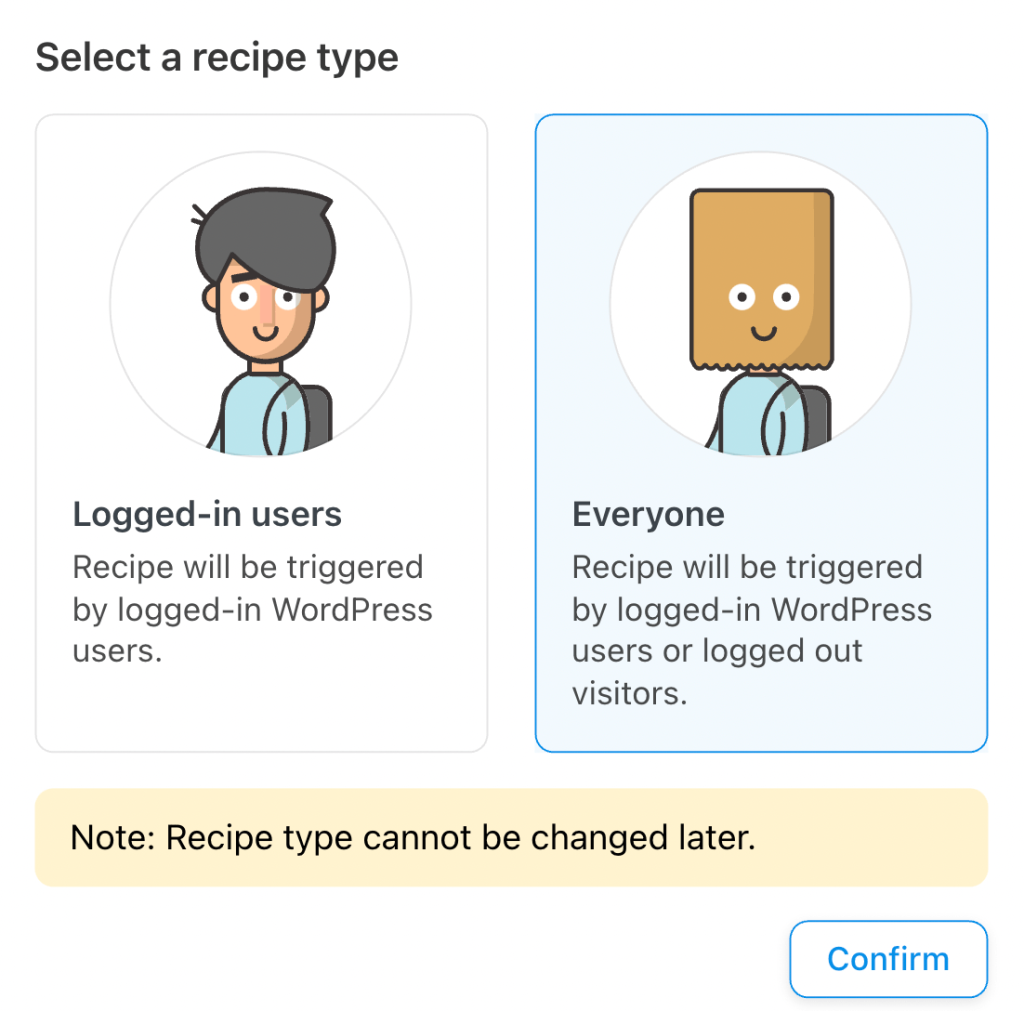
First, go to Automator > Add New. Next, you’ll want to Select a recipe type:
Step 6: Configure the recipe
With your end goal in mind, you’ll want to select Everyone here. This is because customers in your e-commerce store will likely not be logged into WordPress when they make a purchase. Once you’ve made your selection, click on Confirm.
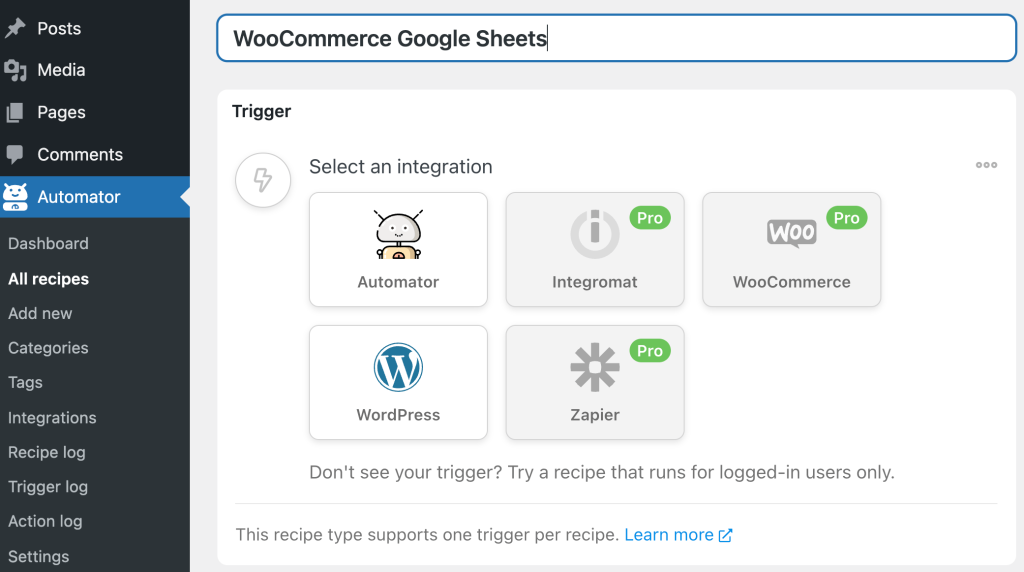
On this page, you’ll want to create a title for your recipe, such as “WooCommerce Google Sheets”. Then, under Trigger, click on WooCommerce:
Next, you’ll be prompted to choose a trigger condition. This is where you can define more precisely what type of sales data you’d like to send to your Google Sheets.
When you’re done, make sure to select Completed from the subsequent dropdown menu.
Then, click on Save. After this, you’ll be able to get even more specific with regard to the sales information you want to send to your spreadsheet. Now, you’ll want to move on to the Actions section.
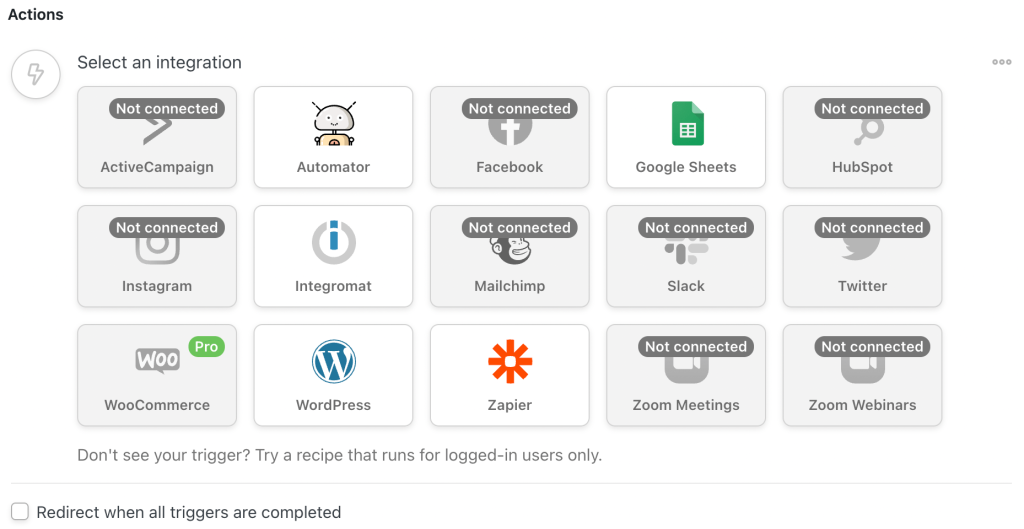
Simply click on Actions and the integrations menu will appear:
Click on Automator. Then, select Call a custom function/method and set your user data. Finally, click on Add action and choose Google Sheets from the list of integrations.
Simply follow the steps to select the spreadsheet, worksheet, and columns you want to work with. Make sure they are matched up correctly. When you’re done, save your changes.
Note that this step can be a bit tedious. Therefore, you may also want to consult the Uncanny Automator’s guide on Google Sheets.
Finally, you can activate your recipe by changing it to Live instead of Draft. Now, you should be able to send your unique WooCommerce sales data to your Google Sheets spreadsheet!
Conclusion
We know that prioritizing security can be a challenge. However, sharing data is essential when you want to boost your conversion rate. Thus, sending your WooCommerce sales to Google Sheets is an efficient way to relay this valuable information to your teammates.
When you’re ready to utilize these trusted tools, just follow these simple steps:
- Set up your online store with WooCommerce.
- Create a Google account.
- Install the Uncanny Automator plugin.
- Connect your Google account to Uncanny Automator.
- Link your WooCommerce store to your Google account.
- Configure the recipe.
Do you have any questions about sending your WooCommerce sales to Google Sheets? Let us know in the comments section below!


