As WooCommerce product vendors, knowing how to make coupons and using smart coupon strategies is important for boosting sales and getting new customers.
Coupons are like powerful weapons in your marketing toolkit. They give customers a reason to buy from you and make your business shine. But where do you begin? What tools do you need?
In this article, we’ll break down the process into five simple steps for creating coupons specifically for WooCommerce vendors. We’ll cover all the basics and even some clever tricks to make your coupons work harder for you. So, let’s dive deeper into. it!
What Is A WooCommerce Product Vendor?
Before we talk about using coupons to boost sales, let’s make sure we understand the basics of WooCommerce product vendors.
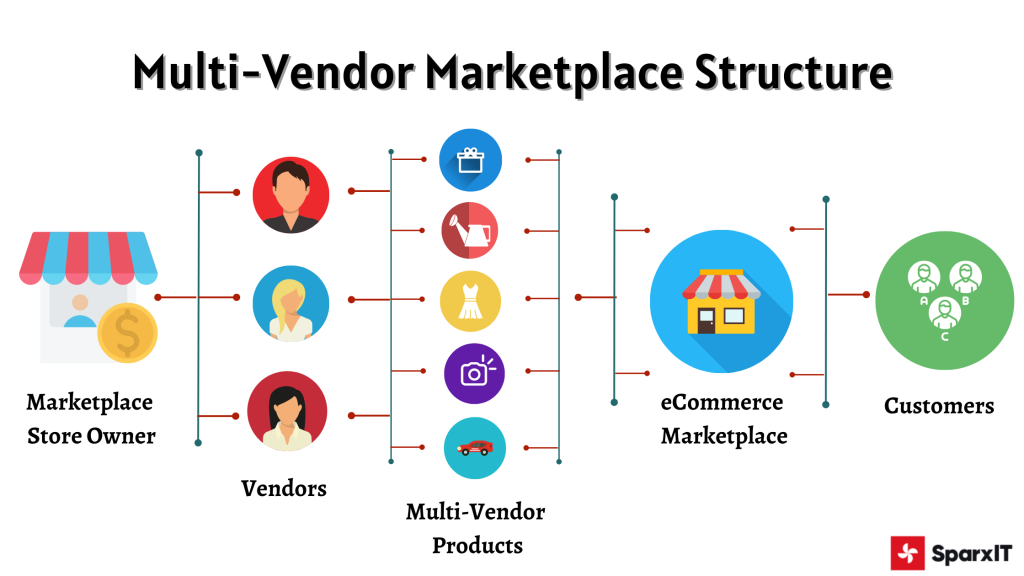
WooCommerce is a toolkit for building online stores running on WooCommerce. As a product vendor, you get your little shop inside the big world of WooCommerce. Then, you can decide what you want to sell, how much you want to sell it for, and how you want to deal with your customers:
To get started with WooCommerce, you have to set up your shop, add your products, and tweak some settings. This means you figure out how you want to ship your stuff, how you want people to pay you, and what taxes apply.
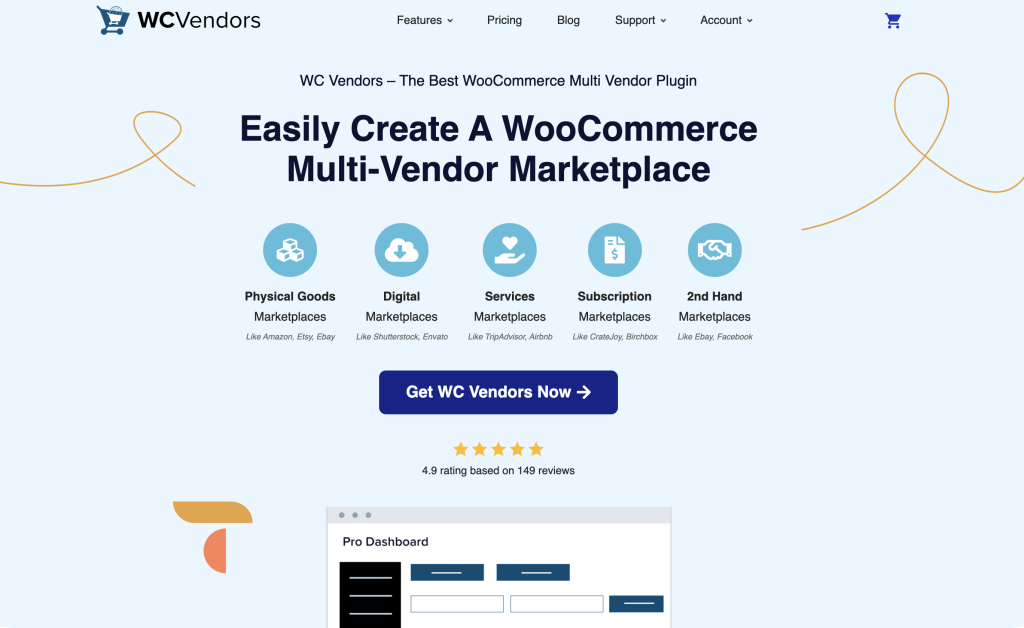
Next, once your shop is up and running, it’s time to consider using coupons to draw in customers and boost sales. To streamline this process, I suggest using WCVendors, a plugin designed to simplify the setup of your marketplace:
WCVendors eliminates the need for manual configuration by providing all the necessary tools to establish a marketplace similar to Amazon or Etsy.
With this plugin, you can save time and effort while getting your marketplace up and running smoothly.
Why Coupons Matter for WooCommerce Product Vendors
Now that we understand the basics, let’s explore why coupons are so valuable for vendors in the online marketplace. Coupons provide numerous advantages for both vendors and customers:
- Increase Sales: First, coupons help vendors sell more by offering discounts or special deals. Customers are more likely to buy when they see a good deal.
- Attract New Customers: Coupons are like invitations for new customers to try a vendor’s products. When people see a discount, they’re more tempted to give it a try.
- Build Customer Loyalty: Coupons can make existing customers feel special. By giving them exclusive discounts or deals, vendors encourage them to come back again and again.
- Clear Inventory: Finally, coupons are great for getting rid of stuff that’s not selling well. By offering discounts on slow-selling items, vendors can sell them quickly and make space for new products.
So, after understanding the importance of coupons for WooCommerce product vendors, we can now jump into the steps for creating and managing coupons.
Creating Effective Coupon Campaigns In WooCommerce
Alright, let’s break it down:
Starting your coupon campaigns requires careful planning and execution. But how do you actually get started? And can you make the process easier?
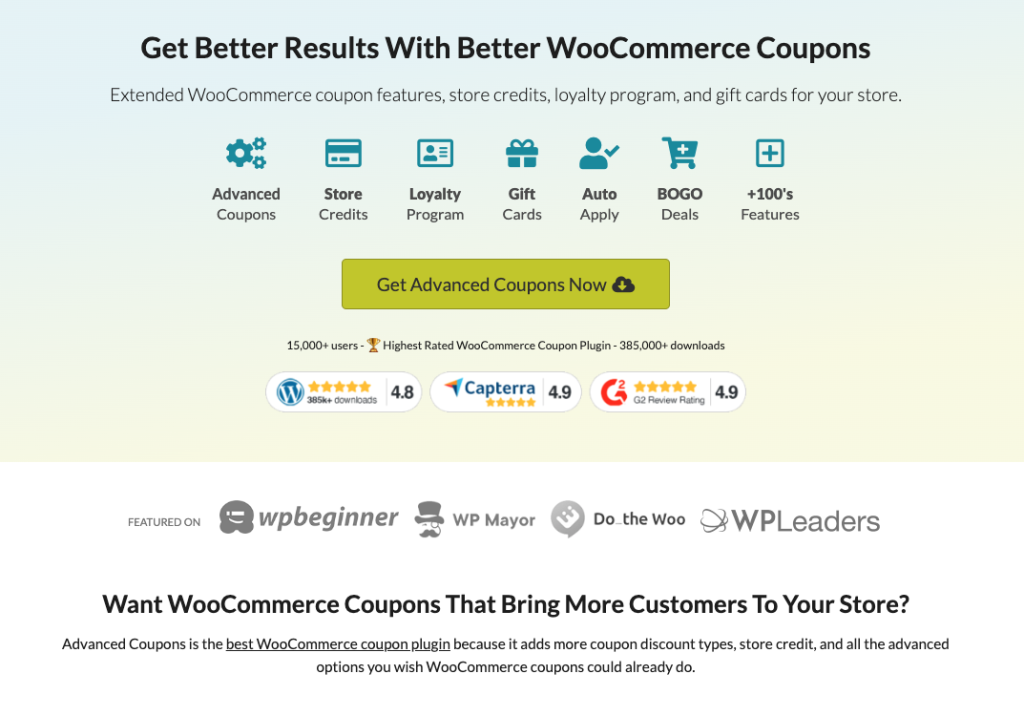
That’s where Advanced Coupons – the top-rated coupon plugin for WooCommerce – comes in handy!
This powerful plugin allows you to set up the standard discounts mentioned earlier and lets you do much more than possible with the default WooCommerce settings.
For example, if you want more control over how your coupon is used or when it’s valid, you can easily manage that with the plugin’s features. So, assuming you’ve got the plugin installed and configured, let’s now explore the 5 simple steps to create your coupon:
Step 1: Create a new coupon.
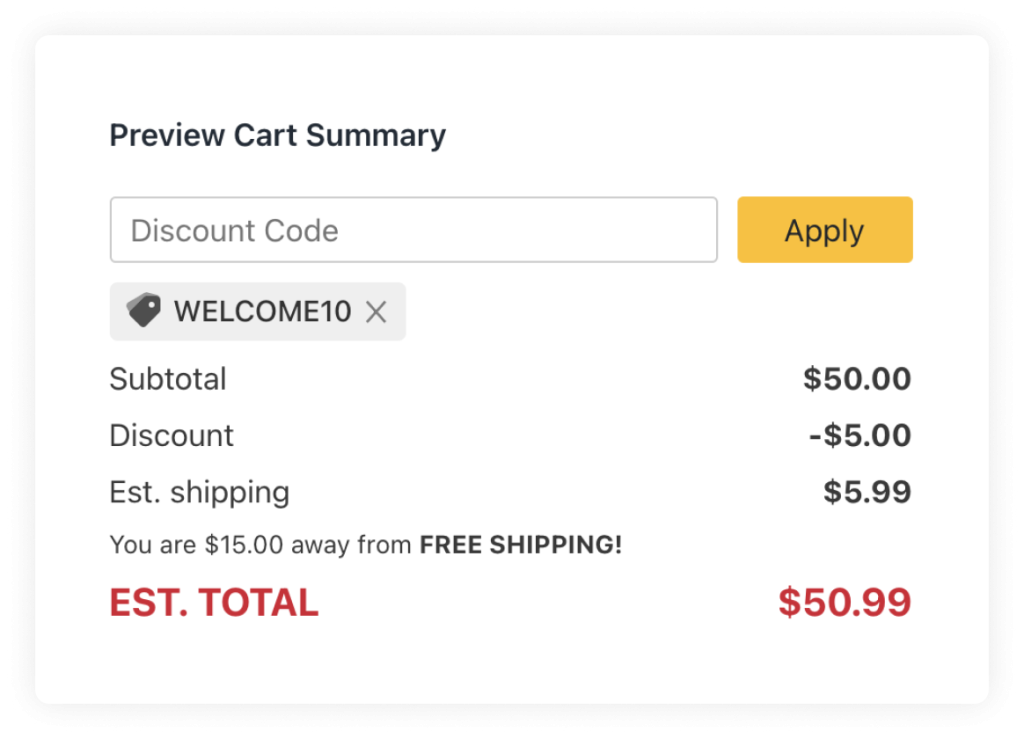
To get started, go to Coupons > Add New. From there, you’ll be prompted to either create your own coupon code or let the system generate one for you:
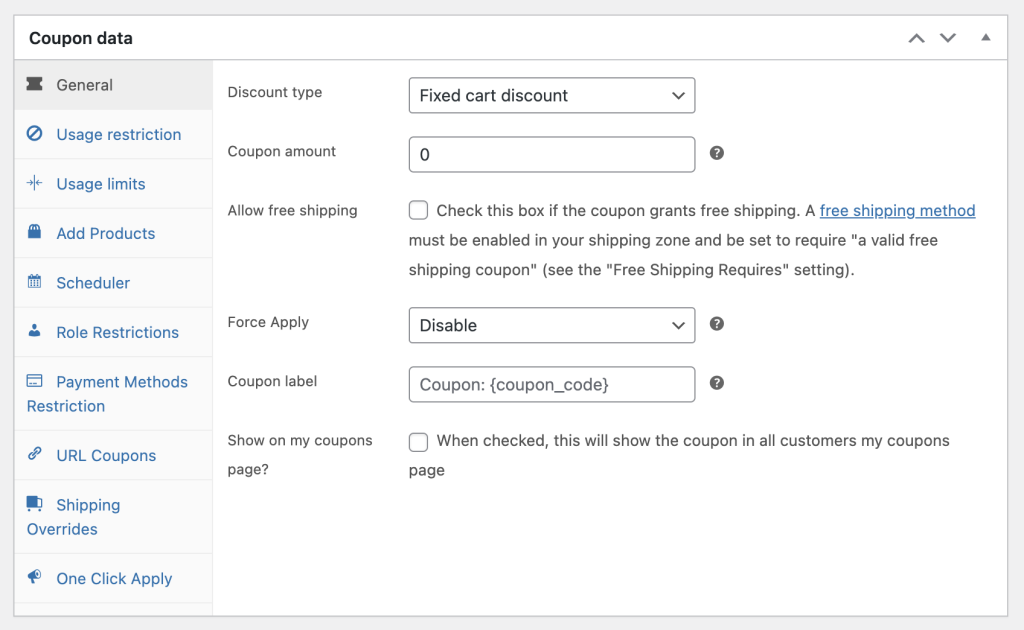
After that, scroll down to the Coupon Data section to configure your coupon settings:
Then, you’ll have complete control over how you want your discount to function. For example, in the General Settings located within the Coupon Data section, you’ll be able to specify:
- Discount type
- Coupon amount
- Allow free shipping
- And many more
Make sure you explore all these settings before you proceed to the next step.
Step 2: Configure vendor-specific coupon settings.
After setting up the coupon management plugin, you need to configure the vendor-specific coupon settings. This step will vary depending on the plugin you are using, but generally, you will need to:
1. Enable vendor-specific coupons.
Ensure the plugin allows vendors to create and control their own coupons independently.
PRO TIP: For more control and flexibility in managing your vendor platform and coupons, consider using WC Vendors. It’s a top WooCommerce Multi Vendor Plugin that lets you build a marketplace without coding. Plus, it works seamlessly with the Advanced Coupons plugin.
2. Define coupon usage restrictions.
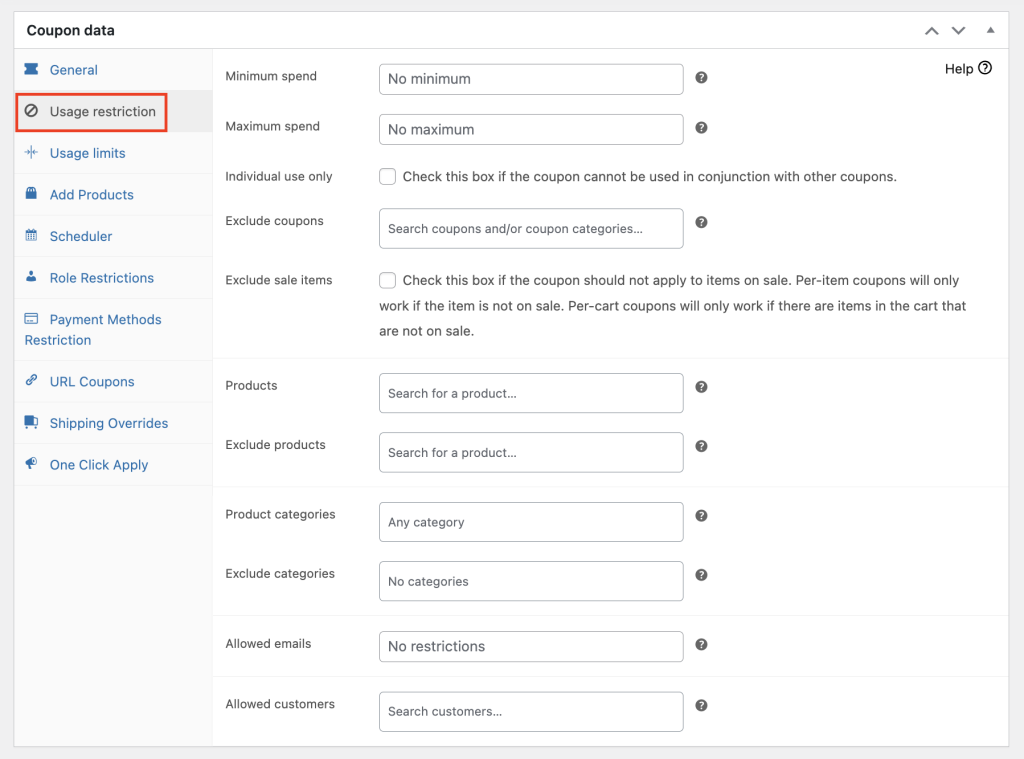
Then, set up usage restrictions for vendor-specific coupons. This includes minimum purchase amount, maximum usage per customer, and coupon validity.
To do this, simply click on the “Usage Restrictions” tab in the “Coupon Data” section:
3. Set commission rates.
Finally, if you are running a marketplace and taking a commission from vendors’ sales, configure the plugin to calculate and deduct the commission from the coupon value automatically.
For a more in-depth guide on how to do so, click here.
Step 3: Educate vendors on coupon creation.
Once the vendor-specific coupon settings are configured, it’s essential to educate your vendors on how to create coupons for their products.
Provide them with clear instructions and guidelines on coupon creation, including:
1. Coupon Types
Explain the different types of coupons they can create, such as percentage discounts, fixed amount discounts, cashback, BOGO, or free shipping. You can also share how-tos or step-by-step guides to help them get started with these discounts quickly.
2. Coupon Duration
Instruct vendors on how to set the duration of their coupons, including start and end dates. Encourage them to create limited-time offers to create a sense of urgency among customers.
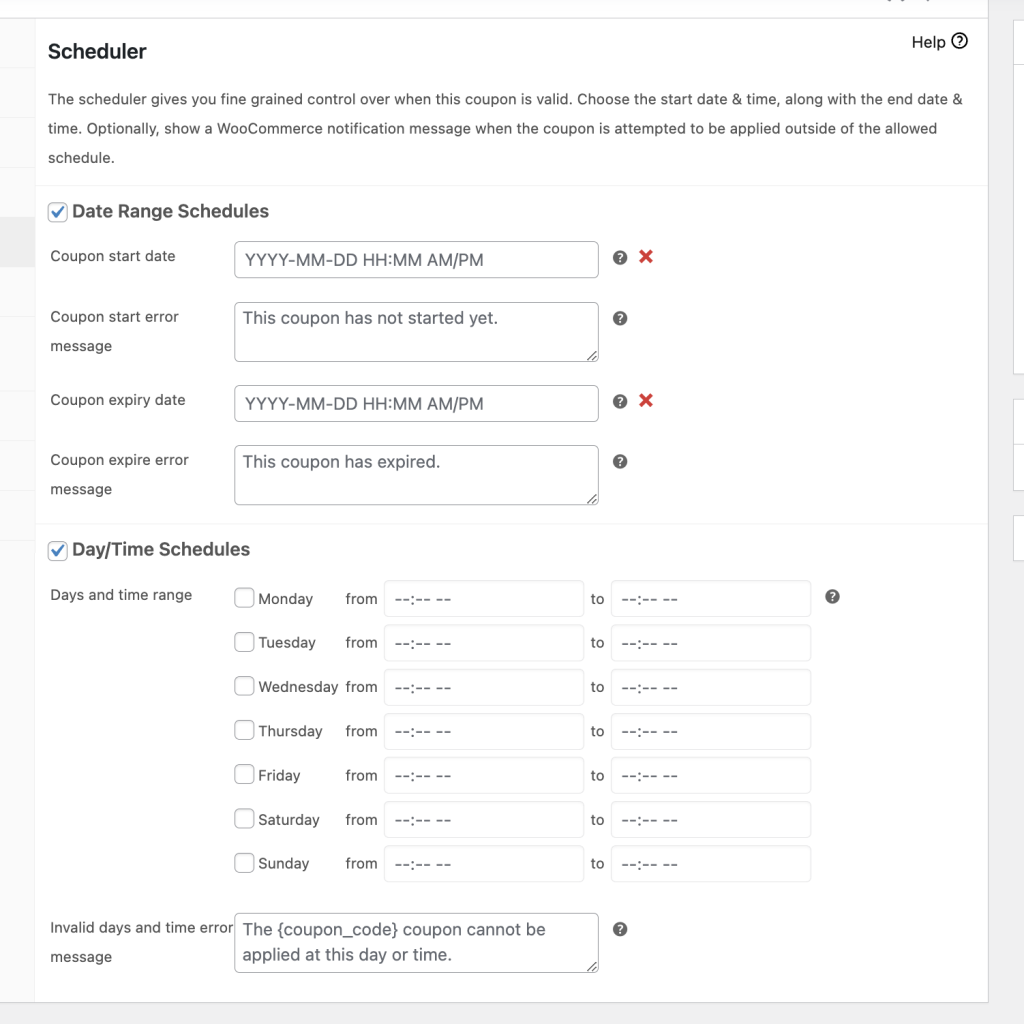
For this specific example, exploring Advanced Coupons’ scheduler feature is extremely useful:
This not only lets vendors set up specific date ranges but also allows them to specify dates and times that might come in handy for flash sales.
3. Usage Restrictions
Another great way to educate vendors is to teach them how to set usage restrictions for their coupons. Specifically, you might want to show them how to set minimum purchase amounts, maximum usage per customer, role restrictions, and product exclusions.
Step 4: Monitor coupon performance.
Of course, simply making a coupon and putting it out there isn’t enough.
Once vendors start creating and promoting their coupons, it’s crucial to monitor their performance to identify what works and what doesn’t. This will help you optimize your coupon strategy and ensure maximum success for your vendors.
Here are some key metrics to monitor:
- Redemption Rate: Track the number of coupons redeemed by customers to gauge the effectiveness of each coupon. This will help you identify which coupons are driving sales and which ones need improvement.
- Sales Revenue: Monitor the sales revenue generated by each coupon to measure its impact on vendors’ overall sales. Compare the revenue generated by coupons to the revenue generated without coupons to assess the effectiveness of the coupon strategy.
- Customer Feedback: Gather feedback from customers who have used the coupons to understand their experience and satisfaction level. This feedback can help you identify areas for improvement and make adjustments to the coupon strategy accordingly.
- Vendor Satisfaction: Regularly communicate with vendors to gauge their satisfaction with the coupon system and address any concerns or issues they may have. This will help you maintain a positive relationship with vendors and ensure their continued participation in your marketplace.
By monitoring coupon performance and gathering feedback, you can continually optimize your coupon strategy and provide valuable insights to vendors.
Step 5: Provide ongoing support to vendors.
As vendors create and manage their coupons, it’s helpful to provide ongoing support and assistance. This will help vendors navigate challenges and ensure a smooth coupon creation process.
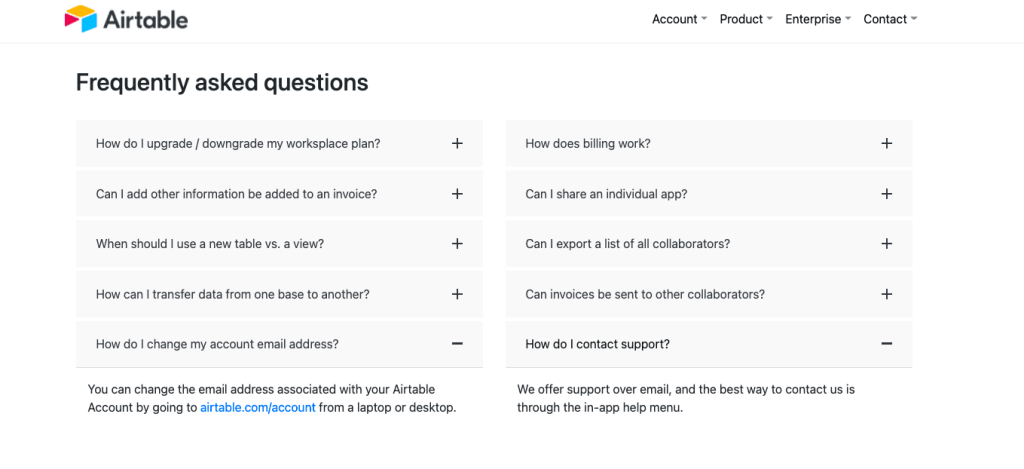
For instance, you might consider creating a comprehensive knowledge base or FAQ section on your marketplace’s website that addresses common questions and issues related to coupon creation:
This will empower vendors to find solutions on their own.
Another strategy can be to assign a dedicated support team to assist vendors with any technical issues or questions they may have. This team should be easily accessible through email, chat, or phone, providing timely and helpful responses.
Lastly, it’s also important to maintain regular communication with vendors through newsletters or email updates. Share tips, best practices, and success stories to inspire and motivate vendors to create compelling coupons:
Conclusion
Learning how to create coupons for WooCommerce product vendors is a powerful way to boost sales, attract new customers, and increase customer loyalty.
In this article, we shared 5 easy steps to create your coupon:
- Create a new coupon.
- Configure vendor-specific coupon settings.
- Educate vendors on coupon creation.
- Monitor coupon performance.
- Provide ongoing support to vendors.
Do you have any questions about this article? Let us know in the comments!

